Making the Maurice Knight Home More Efficient Part 3 of 3 – The End
In the first 2 parts, I explored the history of the 1913 Maurice Knight home in Akron, Ohio, then the diagnosis and beginning of the improvements on the home. We pick up with the surprise we found when we cut into the attics, the first time anyone had been there in 100 years.
Surprise!
I cautioned the homeowner that going blind into this project (I didn’t have access to any attics when I first saw the home) would likely result in finding a few surprises. Thankfully, there really was only one.

This massive built in cabinet in the nursery area was built with a tongue and groove back wall. The good news is, there is a back wall to seal. The bad news is, tongue and groove wood is notoriously leaky, and also very difficult to seal well. (I saw tongue and groove in a newer home last fall and wrote about it.)
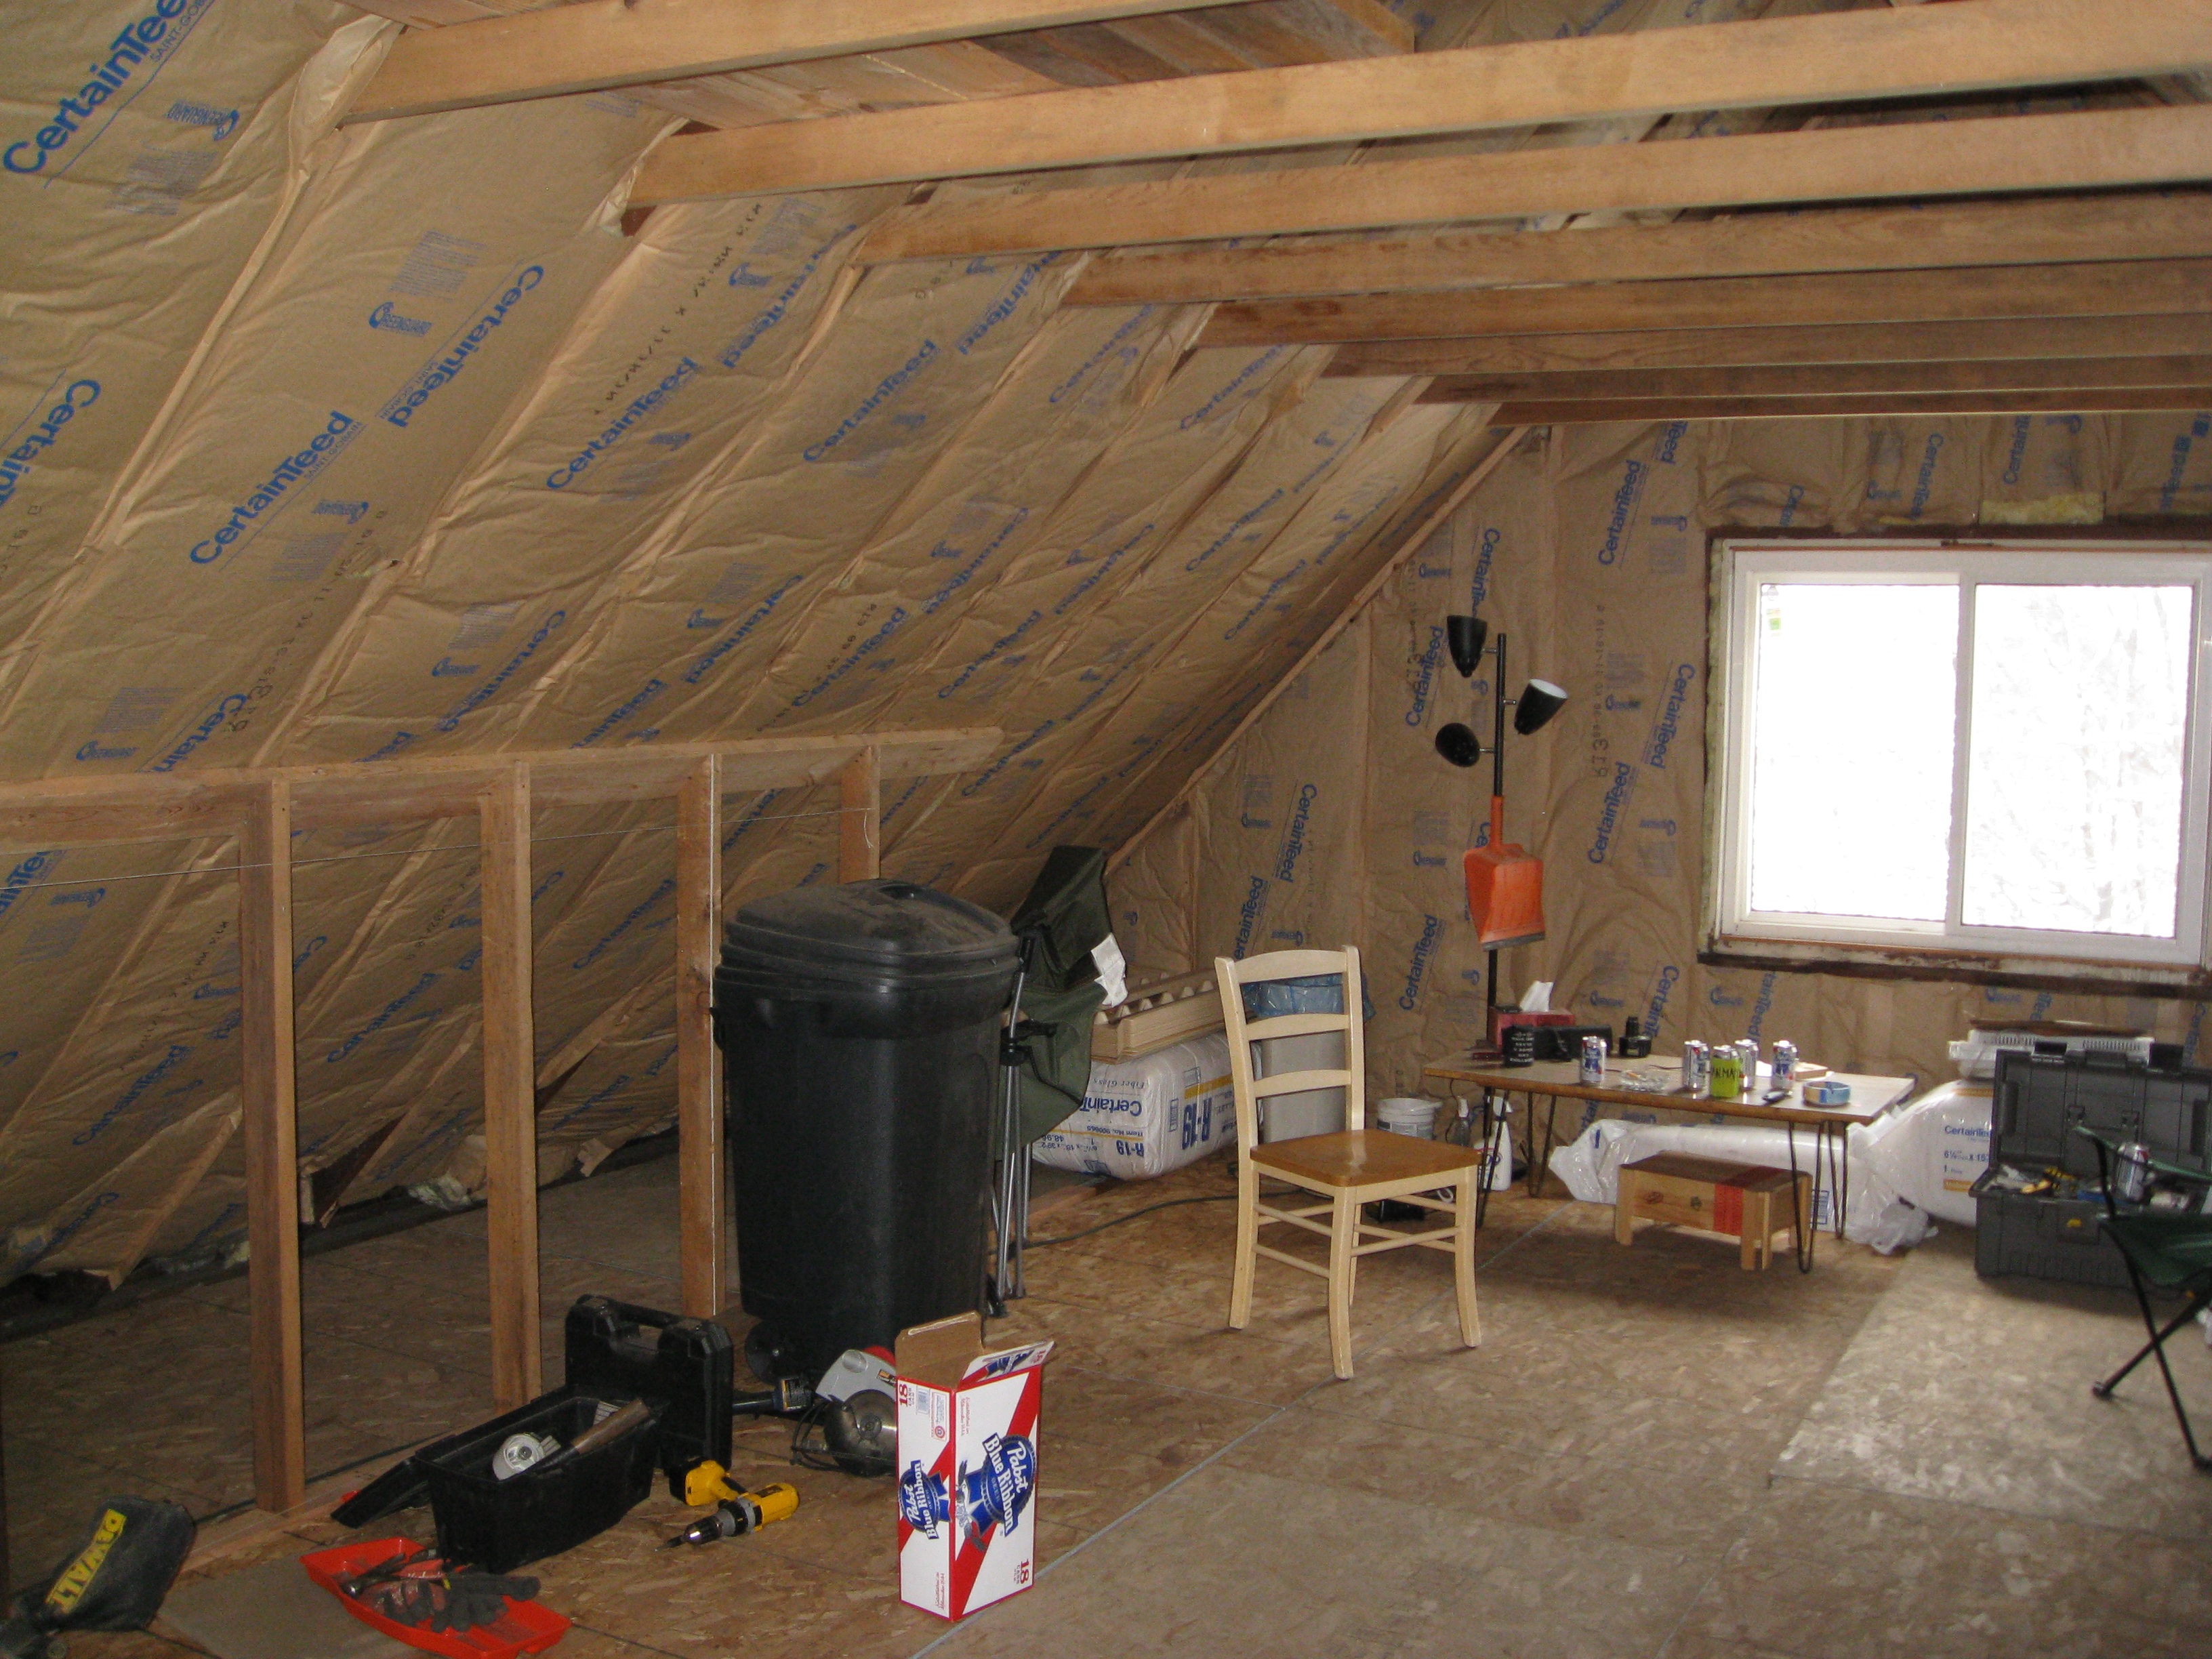
Here’s a picture of the knee wall side of this cabinet, note the light on the top right edge:

You can’t see it in this picture, but each of the horizontal lines here also leaks. After all, how many perfectly straight boards have you ever seen? And if you’ve seen one of those rare creatures, have you ever seen 2 put together? Probably not. And that’s a recipe for leakage.
So how do you solve this?
We’ve tried painting mastic (also used as tile glue) on the back of cabinets like this, but we were disappointed with both the results and how long it took.
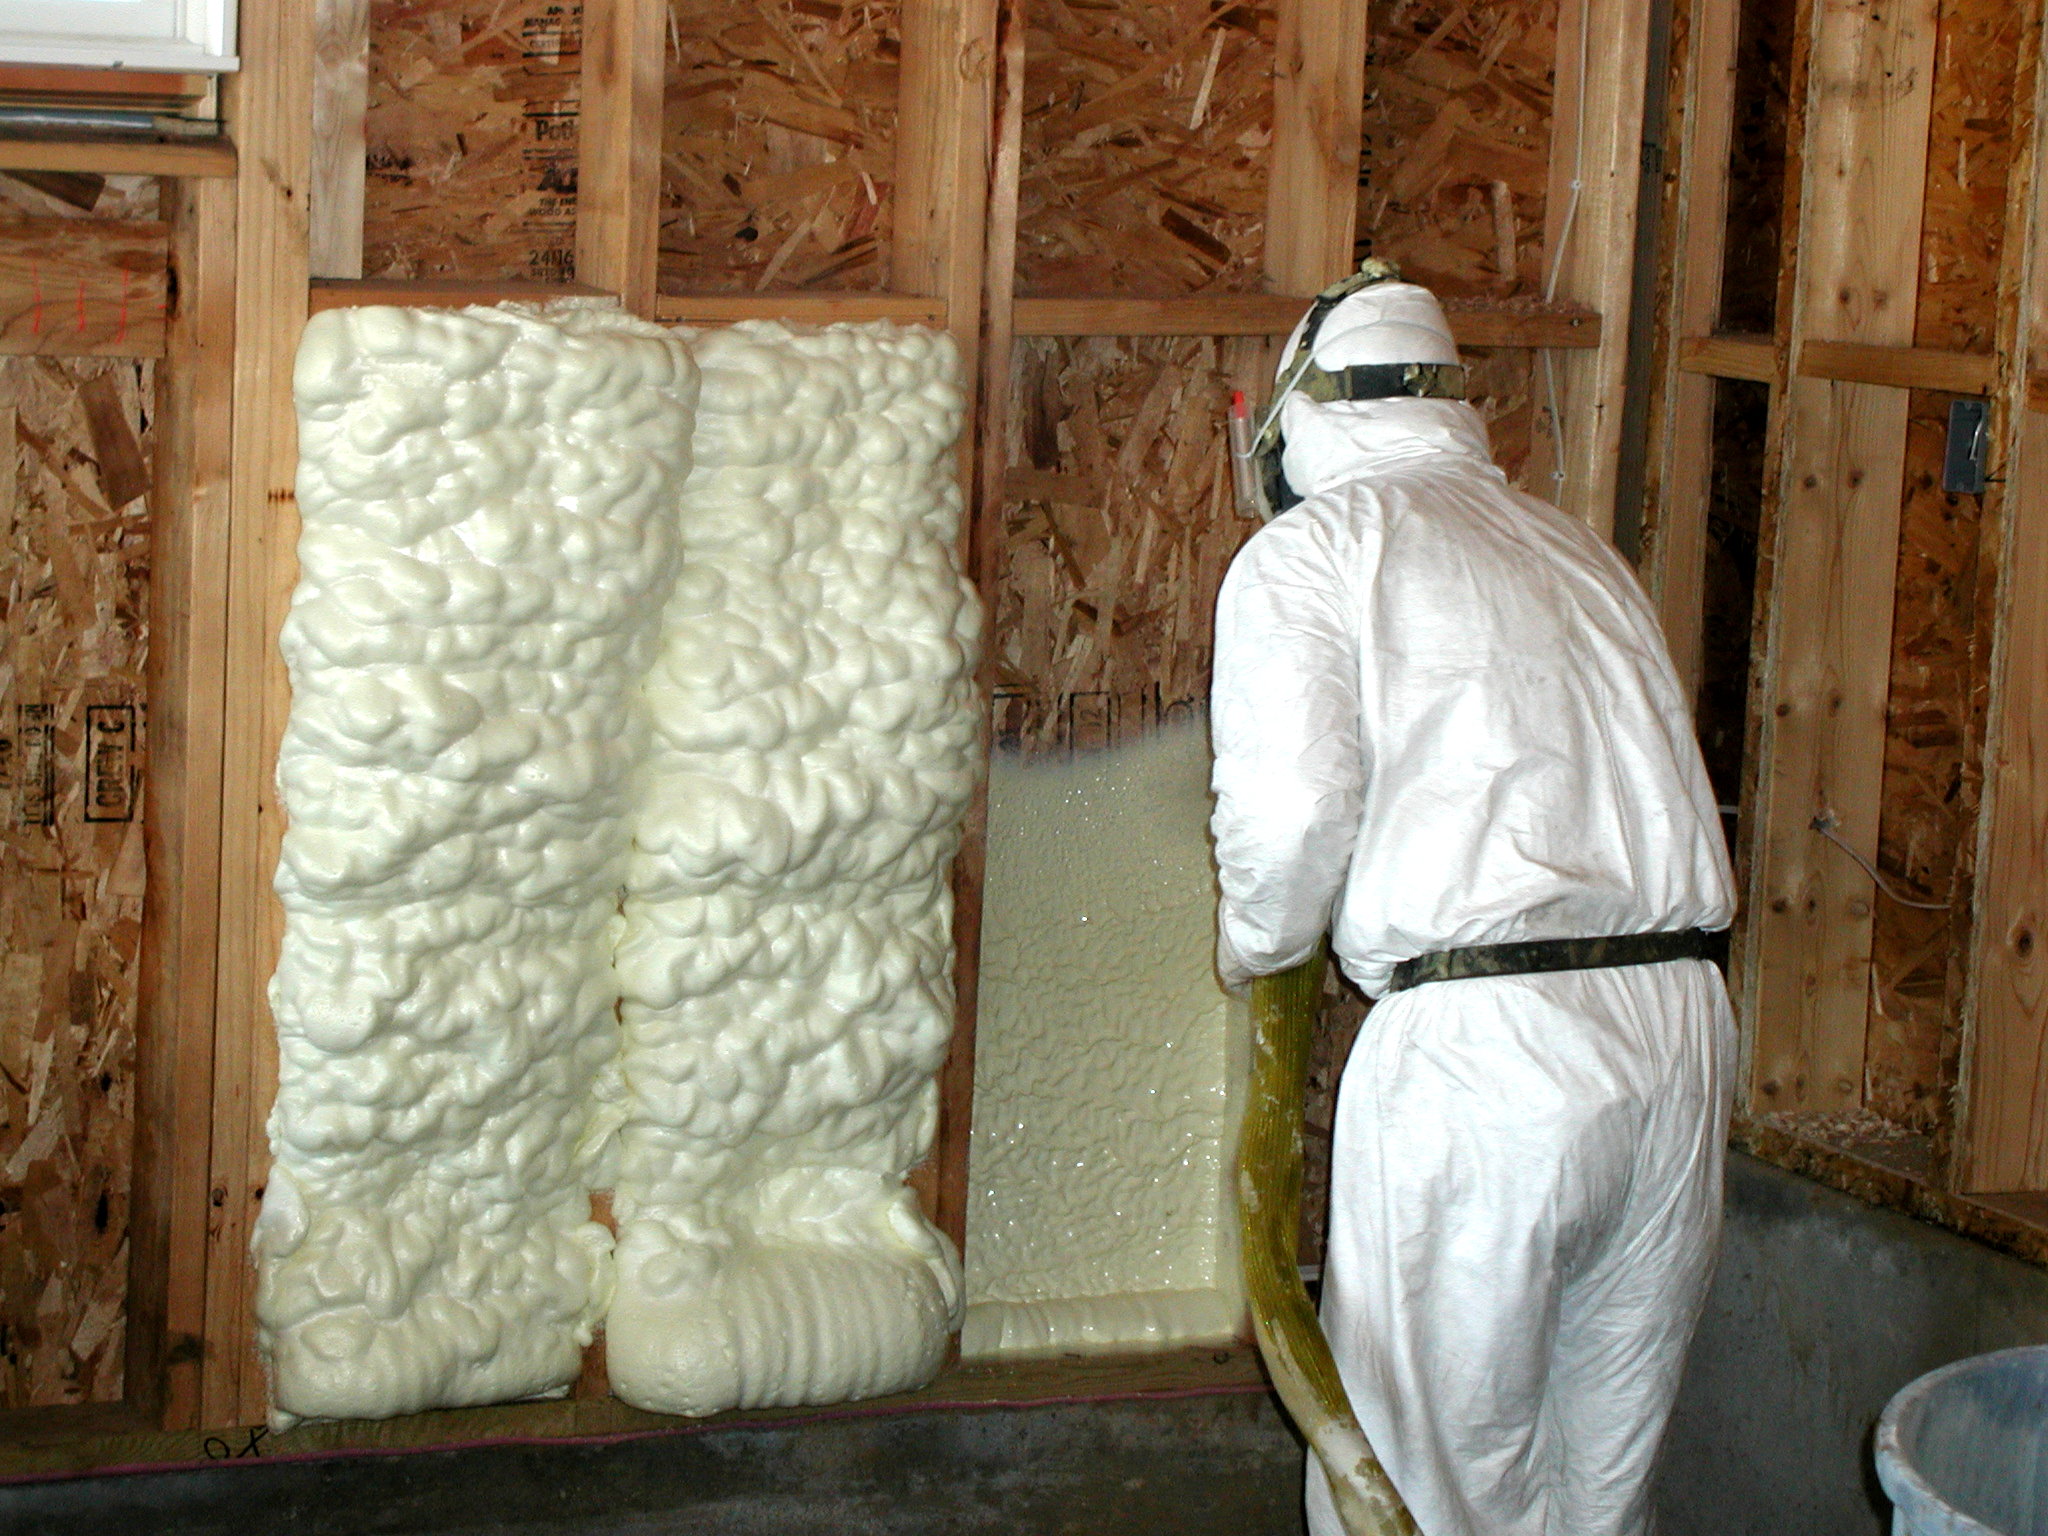
Enter the sexy member of the homely insulation family: spray foam. (Chicka-bow-wow.) You’ve probably seen it on Holmes on Homes, he loves this stuff. Nothing air seals like spray foam.
The other foam we use that you have seen so far is a one component foam like Great Stuff at Home Depot and Lowe’s. It cures with moisture in the air. We don’t use that much of it in the scheme of things, and it’s not that expensive.
Spray foam is a different animal. It has 2 parts and catalyzes itself. It’s strong, dense, and offers a whopping R-6 to R-7 per inch, way higher than the R-3.5 per inch or so fiberglass and cellulose have. So yes, it’s sexy, cool, and it works well.
So why don’t we use it more often? You probably guessed it: it’s expensive. For this application, though, it was the best solution.
We coated the back of the built in cabinets’ walls with about 1″ of foam to seal it completely. Unfortunately, I forgot to take a picture of it. Still, problem solved. And this was the only big surprise we found.
The Final Steps – Adding Blown Insulation and Building Hatches
It’s always kind of funny, attic insulation, which is what everyone thinks is all I do for a living, is almost an afterthought, it just doesn’t take that long. Insulating all of the attics took less than a day, after 5 days of prep. That’s a pretty consistent ratio, 5:1 prep:blowing insulation.
The homeowner had an electrician come out and give his blessing to the knob and tube wiring, which was pristine and undisturbed, since we were the first people in these attics in literally 100 years.
How We Insulate Knob and Tube Wiring
I use a hybrid approach to insulating knob and tube wiring, and some will likely disagree with me. Cellulose has boric acid in it as a fire and pest retardant, and it is corrosive to metal and brick when it gets wet. It is not recommended to be in direct contact with knob and tube wiring.
Ohio HWAP (home weatherization assistance program), for whom we do a little bit of work, allows knob and tube to be ‘channelled’ with 2 pieces of rolled fiberglass – one on top and one below.
I reinterpret this a bit and install blown fiberglass over any wiring first, then cap the fiberglass with cellulose, so the cellulose is not in contact with the wiring.
We did this on the Maurice Knight home, to a depth of R-60 total, the high side of the Department of Energy recommendation for our climate zone (5a).
The Sloped Ceilings
The sloped ceilings were ventilated first with ventilation baffles, then filled with blown fiberglass insulation. I like fiberglass for this application because it offers a higher R-value per inch when dense packed. It also does not absorb water, so if there was ever a roof leak it would be found more quickly, and then the fiberglass would dry out faster and regain its R-value. The R-value is around R-18 in this instance. That’s not enough to reduce ice damming very much, but enough to improve comfort quite a bit on the third floor.
Tackling the Attic Over the Sunrooms
One tricky spot to insulate was the small attic over the sunrooms. The wall where we would like to cut through into it is a chimney. We didn’t really want to put a hatch in the ceiling, which would be plainly visible in the sleeping porch off the master bedroom, so my foreman decided to cut in a roof vent and slip through that small hole. Can you see it?

The vent is towards the right. Here’s a picture of it from inside the house. I still can’t believe my guys can fit through the 12″ x 12″ hole they cut for these.

Punching 11 Holes and Making It Look Like We Weren’t There
Finally, it was time to close everything up. While I’m big on energy conservation, I also like to leave as little trace behind as possible, and when working on historic homes, make minimal alterations and hopefully make our changes blend in.
In the case of this home, we were lucky. The third floor was made for servants quarters, so it doesn’t have the massive trim of the first 2 floors. Most of the hatches could be cut into closets, as well, where they were hidden. Simple pine trim did the trick, the homeowner will stain it at a later date. The existing trim did not have mitered corners, so we didn’t miter it either.

This wall hatch has 4 screws that allow it to be airtight. They will be the only indicator of new work once the hatch is stained and painted. The little bit of drywall mud you can see is where the plaster and lath cut unevenly. P&L is notorious for that. Thankfully my foreman Clay is pretty good with a drywall blade.

This attic hatch was the only one cut into the ceiling. We put it in the hallway where it was less noticeable. I feel that we made little historic impact on the home, but a large impact in Home Performance.
Changes That Can Be Felt
The project went on over about 2 weeks. It was interesting to hear the homeowners’ reactions as we moved along.
Their bedroom was ridiculously cold at night when we started, dropping to a frigid 58 degrees. After the air sealing alone, they said they noticed a big change in the comfort of their room.
Once we finished the job, he said the bedroom held a pleasant sleeping temperature of 65 degrees, even on nights where the low was in the teens. This is without adjusting the radiator in his room.
The projections from the energy audit show a savings of about $4500/yr in natural gas with attic insulation and air sealing. (I should note I don’t really like the computer program that number came from, I feel it is too optimistic in this case.) The homeowner was looking to get his money back in 7-10 years, he has a really good chance of doing that, even if the projections are a bit high.
Now that the work is done the homeowners may feel the comfort improvement alone was worth the money, and the economic gains are just gravy.
I look forward to hearing the economic results, but I’m also thankful for a chance to work on such a cool home with a very pleasant homeowner who ‘gets’ Home Performance.
Would you like to have your own home looked at with this level of care? If you live in the Cleveland or Akron areas, please give us a call at 330-524-6495!
Related Articles:
Making the Maurice Knight Home More Efficient Part 1 of 3 – The History
Making the Maurice Knight Home More Efficient Part 2 of 3 – The Project
How to Insulate and Ventilate Knee Wall Attics
How Much Does Attic Insulation Cost? A Helpful Guide.
Insulation and Air Sealing: Extreme Coffee and Tea Edition
Fix Your House for Free! The Magic of Energy Efficiency Financing
Popular Post


Highlighted Posts