How to Install Blown In Attic Insulation Yourself, Part 1 of 3

Fall is in full swing, the furnace is on, football is back, and unfortunately for us here in Ohio, the election is in full swing too. What does this mean? Why, it’s time to insulate your attic, of course! (Yes, I’m a bit of a weirdo, but that’s OK, because I’m obsessed. That’s a joke, by the way.)
As a Home Performance contractor (don’t you dare call me an insulation contractor!), I have drunk a lot of Kool Aid about how insulating and sealing up your home can:
1. Improve comfort – less temperature difference between floors and rooms
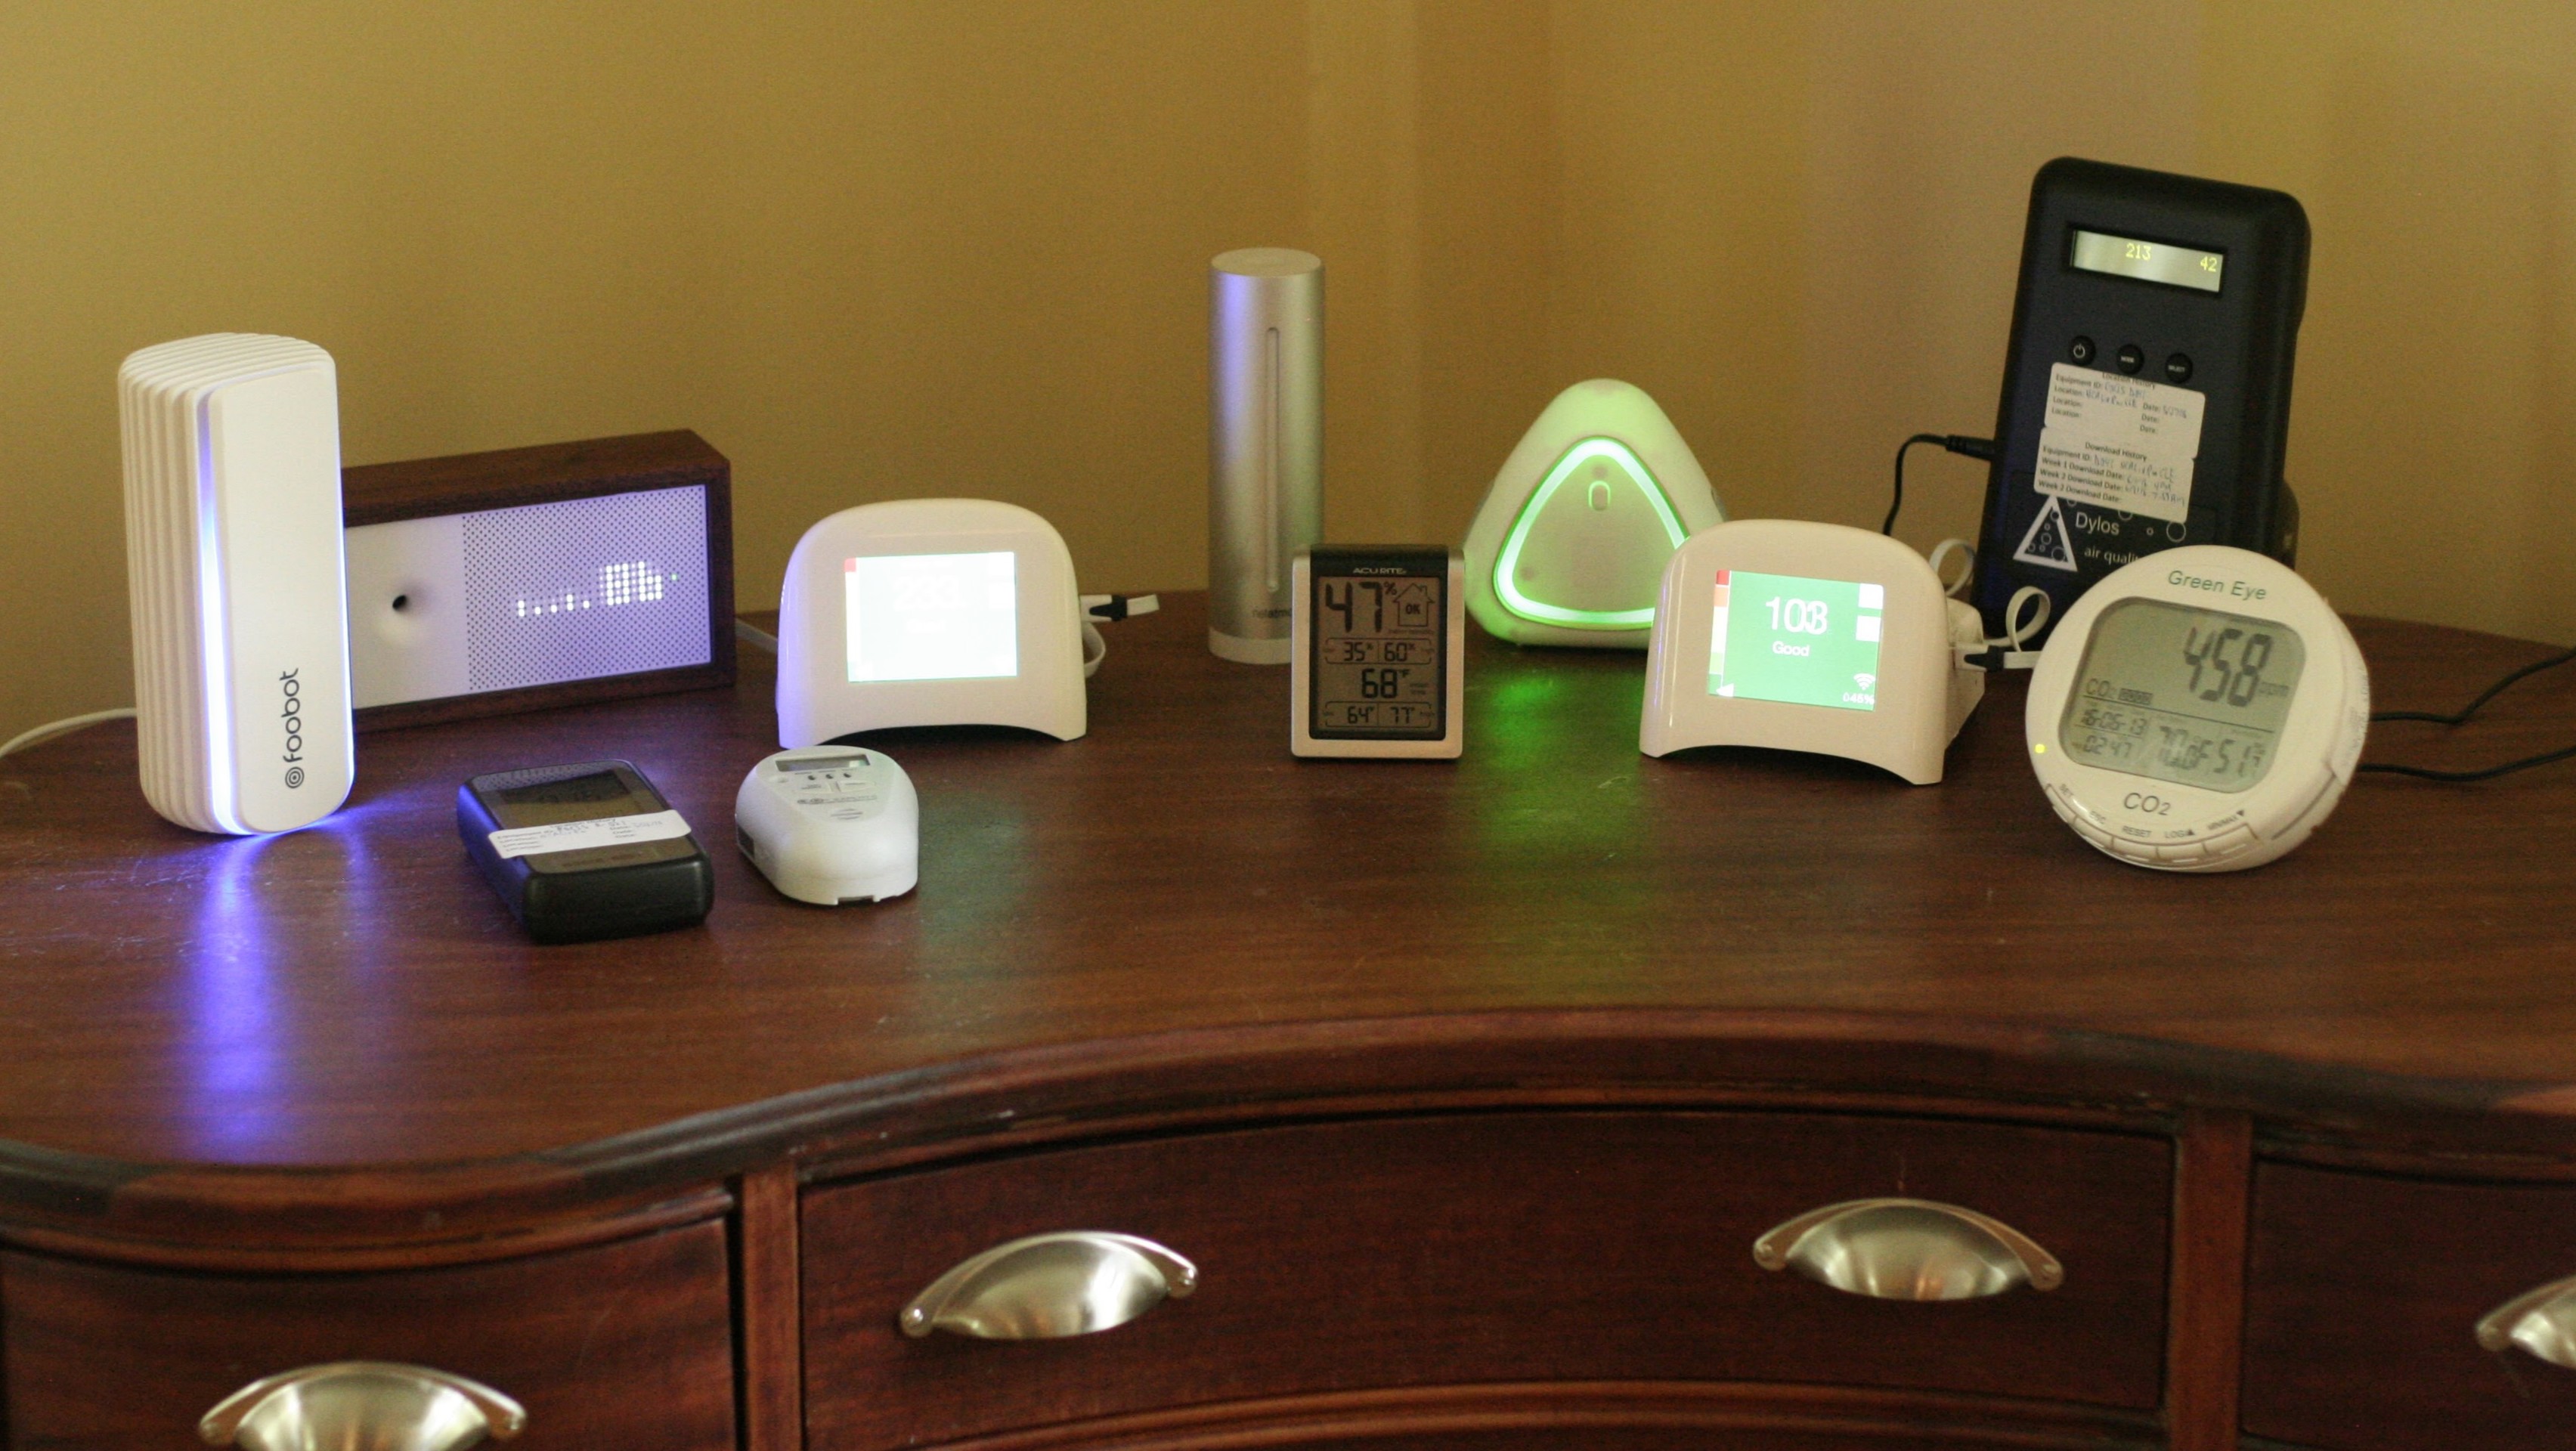
2. Increase healthiness – less nasty dust and air getting sucked into your home
3. Increase the longevity of your home – attic insulation in particular reduces ice dams, which reduces rotting roofs, which means your house won’t disintegrate nearly as quickly.
4. Reduces energy bills – duh.
It sounds like a lot to promise, but it’s really just physics and building science.
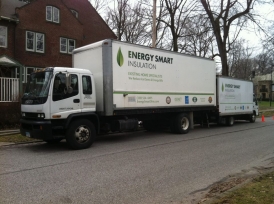
I also know that as a contractor, not everyone can afford to hire me. Not long ago I couldn’t afford me, and I insulated my own house, even before I started Energy Smart.
I really believe in what I do, so I decided to teach homeowners, for free, how to install attic insulation, perform air sealing, and add attic ventilation the Home Performance way, not the ‘blow and go’ or ‘spray and pray’ way. It’s a much tougher way to go, but you won’t have to call me or someone like me in 2 years when you have mondo mold in the attic or a fire scare from a recessed light.
So are you ready to start learning?
There are 3 different stages to the process, this post tackles the first:
DIY Attic Insulation Part 1 of 3 – Deciding to Do It.
Attic insulation is not a project most people get excited about, and frankly, I understand! If I wasn’t paid to do it, I wouldn’t do it! The great part is, you can get paid to do it – with reduced energy bills. Better yet:
You’ll have fewer arguments with your spouse because the house is more comfortable.
Your icicles will be reduced or even go away, so no more stained ceilings or gutters being pulled off, or worrying about either one late at night.
Your home will be more evenly heated and cooled as well, all because of attic insulation!
The job isn’t sounding quite as bad now, is it?
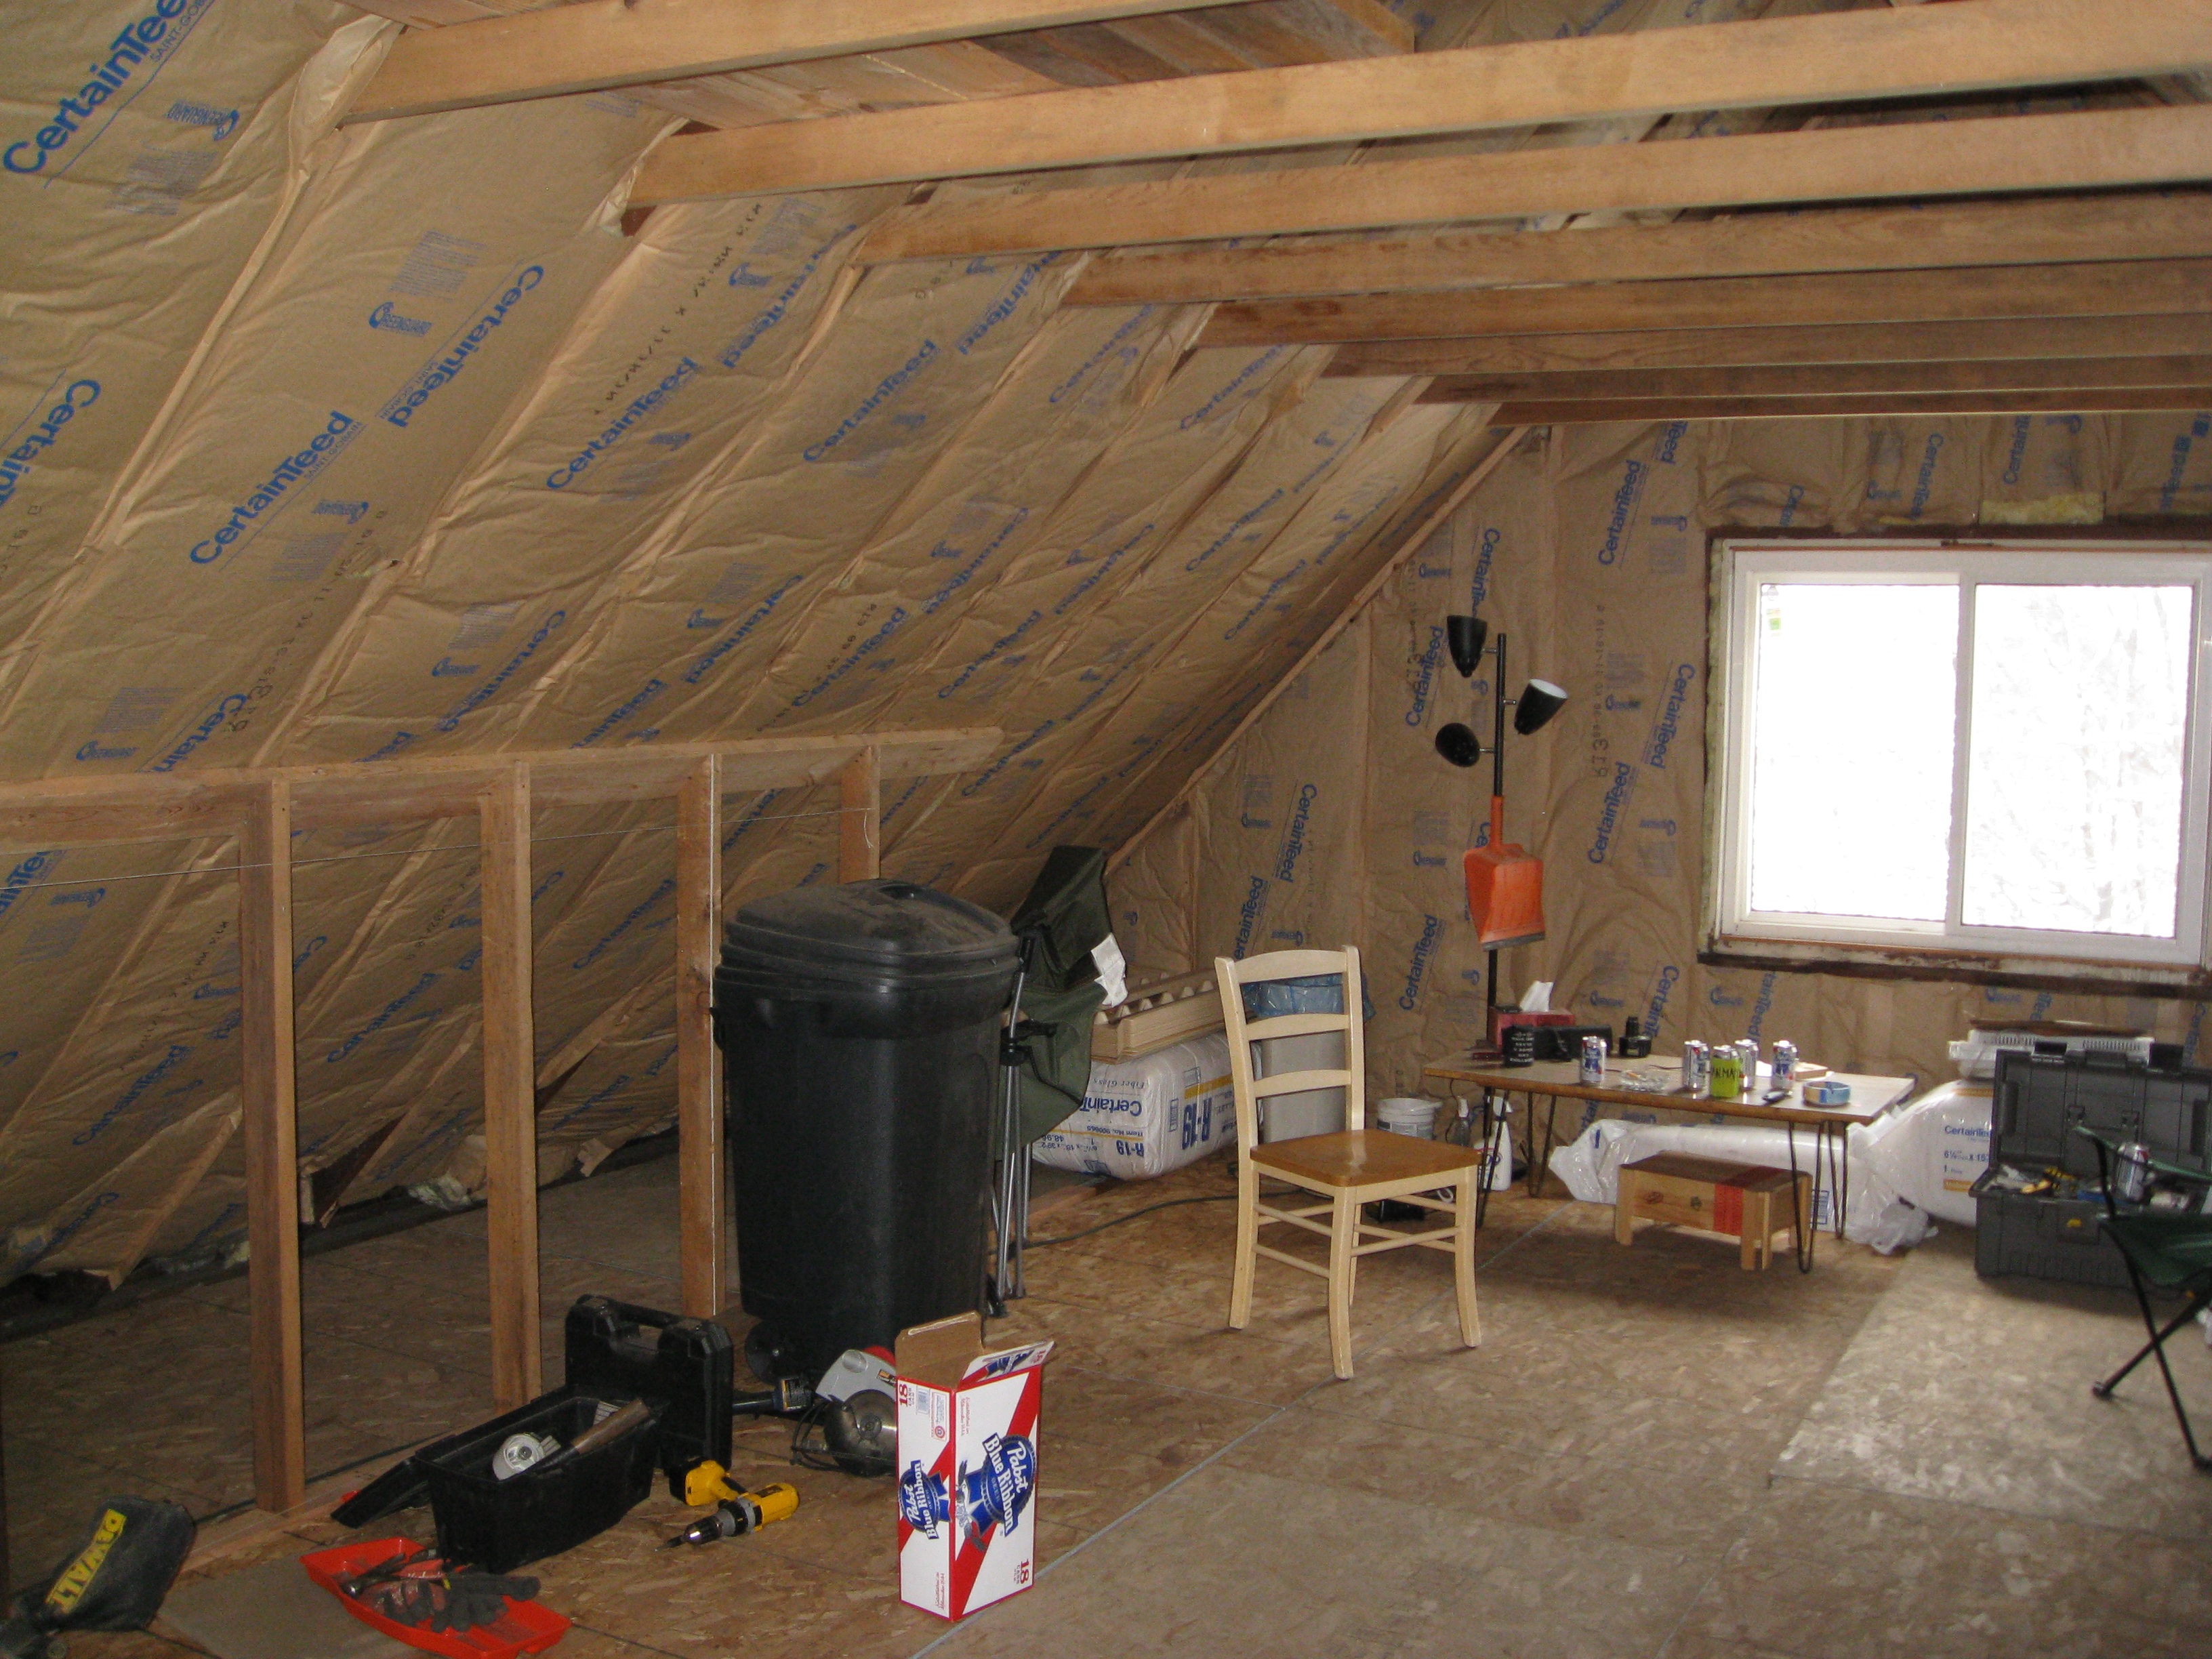
One of the first things to do is decide what material you would like to use. There are 3 commonly available materials at most lumberyards and big box stores:
1. Rolled fiberglass, also known as batts
2. Blown fiberglass
3. Blown cellulose
Would you like to know more about the pros and cons of these materials? Would you like to learn how to figure out how big your attic is and how much insulation you would need in an easy, step by step format? It’s WAY more than can easily fit in a blog post, or even 5-6 blog posts, so I wrote a free eBook.
You can learn about all that in JUST part 1 of Energy Smart’s FREE 33 page eBook on DIY Attic Insulation Installation (say that 10 times fast).
You’ll also learn about how to figure out what other items you’ll need, attic ventilation, air sealing, and tips on how to avoid common pitfalls that could cause you to have to call a contractor to fix your mistakes.
So what are you waiting for? Get reading and get going on that attic before the snow flies!

Popular Post
Highlighted Posts