Changing Incandescent Under Cabinet Lights to LED
I try to practice what I preach. I tell homeowners all the time to switch to CFLs and LEDs from their old school heat lamps, I mean light bulbs.
I put my money where my mouth is on July 4th, and changed out my kitchen under cabinet lights. These lights are on 6-8 hours/day pretty routinely burning 80 watts per set of 4. The LED model I bought uses 7.5 watts, an 90.6% drop for the same amount of light! Here is a before shot.
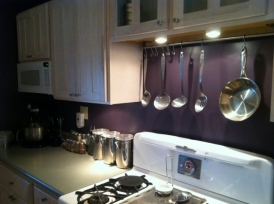
Since I use them a lot, they were prime candidates for replacement. The problem is, replacements that look good and are halfway reasonable are not easy to find. Enter IKEA.
(If you have never been to IKEA, you simply must go, everything is stylish and cheap, 2 of my favorite characteristics! The closest one to Cleveland is in Pittsburgh.)
While looking around the Detroit IKEA, I noticed an under counter LED kit called Inreda, which at $50 is actually a good deal for this sort of thing, I think the ones I installed before were $20 or so. BIG NOTE: The kit doesn’t come with a cord to plug it in (the black EXCL box below the product name on the package), you have to buy it extra. Since I was hard wiring it, it didn’t matter much, but buy the plug.
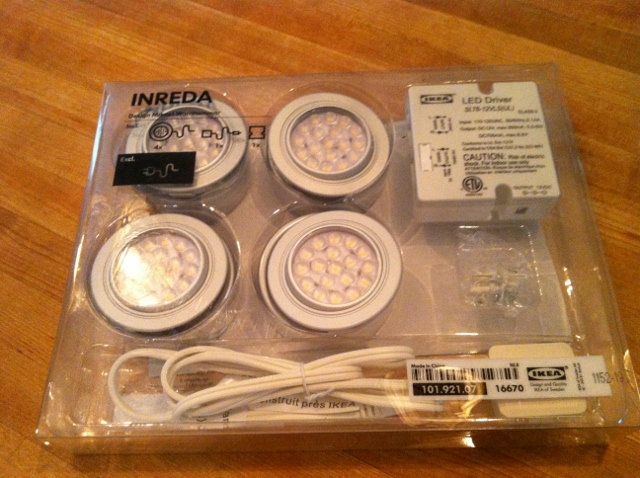
Before I go on, a quick note on LED lights (Jargon Demystified!) LED stands for Light Emitting Diode. They are the same thing used in digital clock faces, lights on your computer when your hard drive is working, and a ton of other applications. Engineering geniuses have figured out how to make them much brighter so they can be used as regular lights (Audi has used them in headlights for several years, and many other manufacturers are following suit).
LEDs have a much more pleasing light than CFL (Compact Flourescent Lamp, the squiggly bulbs) and use even less energy than CFLs. CFLs use about 75% less energy than a comparable incandescent bulb, LEDs use about 80% less, or 90.6% in this case.
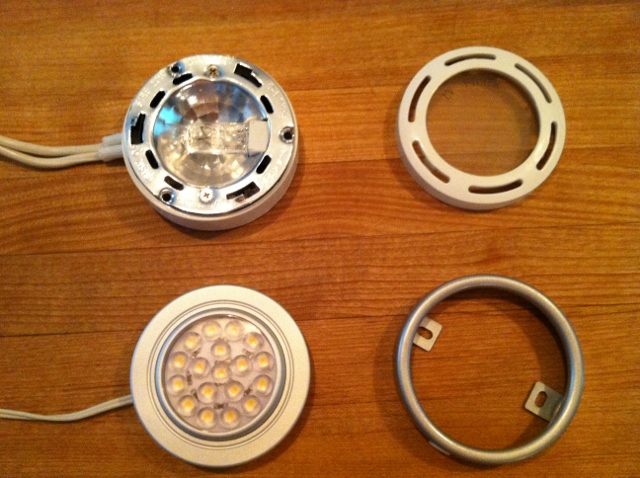
Anyway, on with the project. Here is another picture of the units side by side with their trim rings and then a few close ups of the units. The old ones have a trim ring that screws on the bottom, the new ones push up into a trim ring.
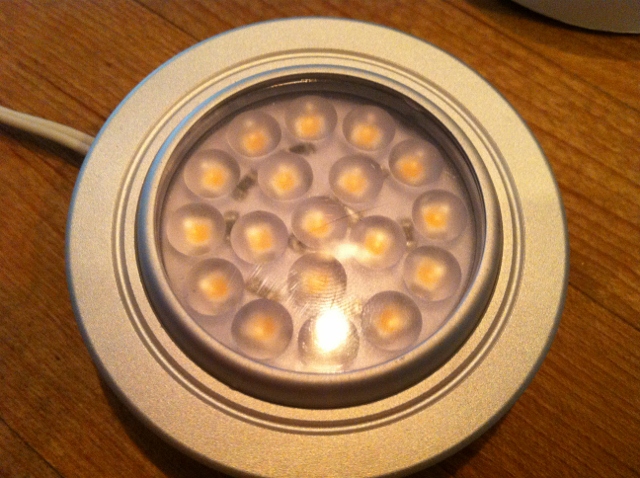
So I started by removing the old lights. I had to run the new wires for the LEDs, which required drilling a few holes in the cabinet larger than they were.
Here is a picture of the heat mark above the old light. You can tell it got hot because it discolored the wood. The main reason LEDs and CFLs are more efficient is because they turn most of the energy they use into light, not heat
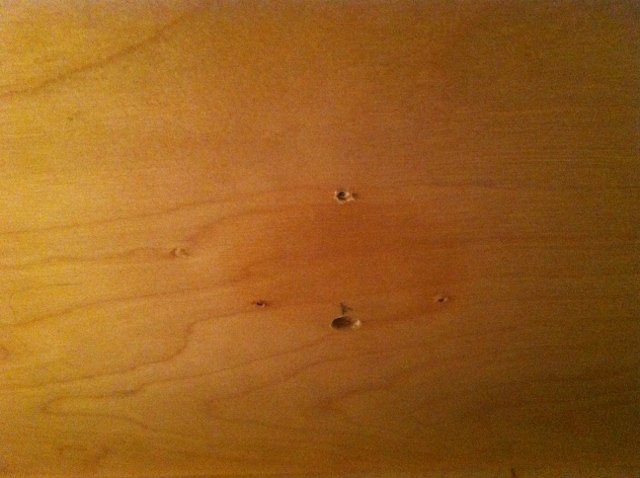
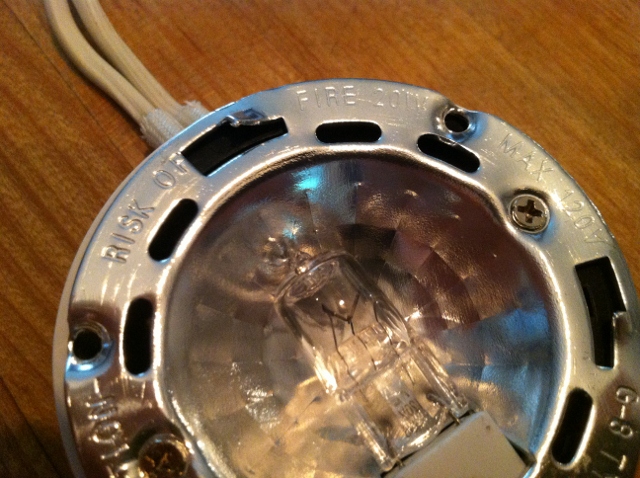
In fact, these halogen (a type of incandescent) lights actually say there is risk of fire. They also create UV, or ultra-violet, light, which can bleach colors and for which they include a filter. See the “risk of fire” label in the close up picture above.
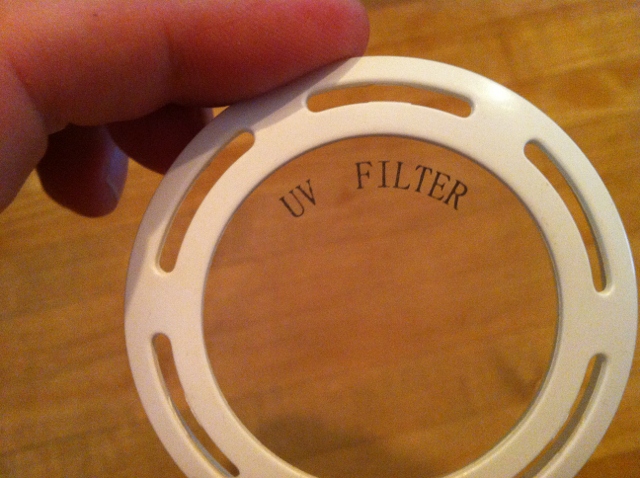
Here is a picture of the trim ring from the LED and one light installed.
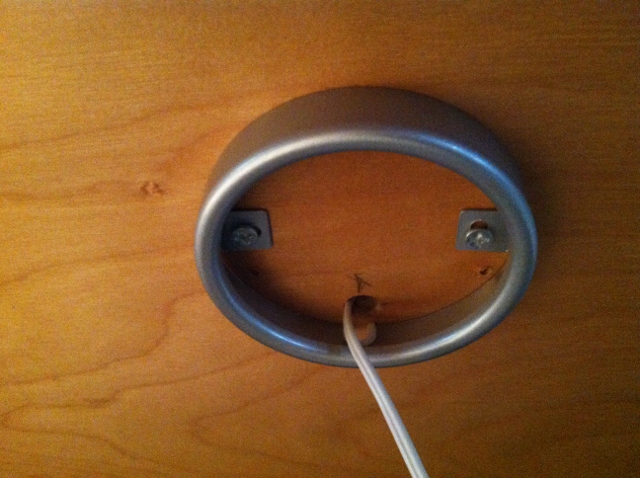
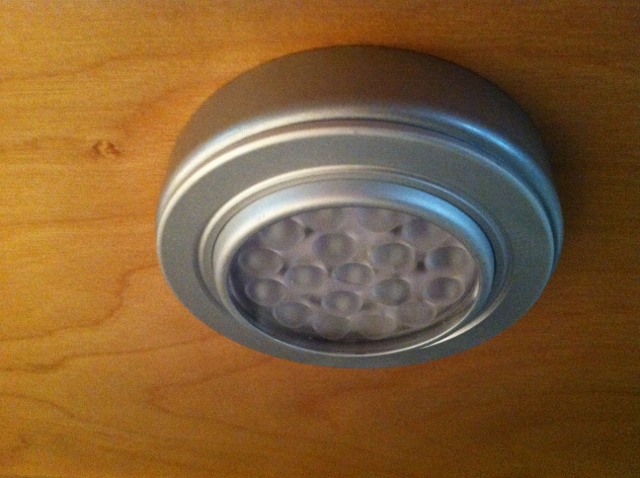
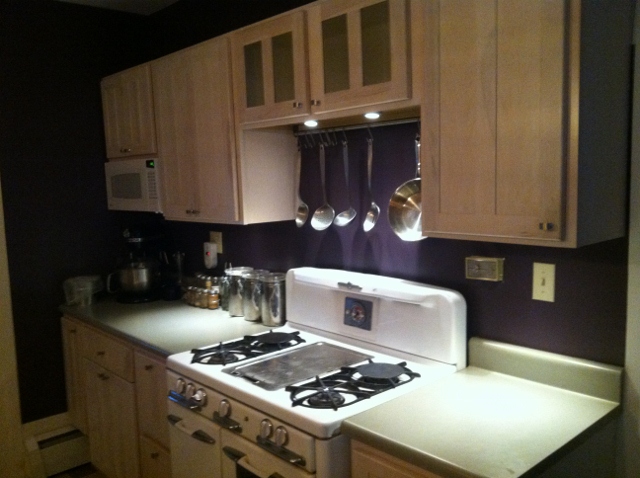
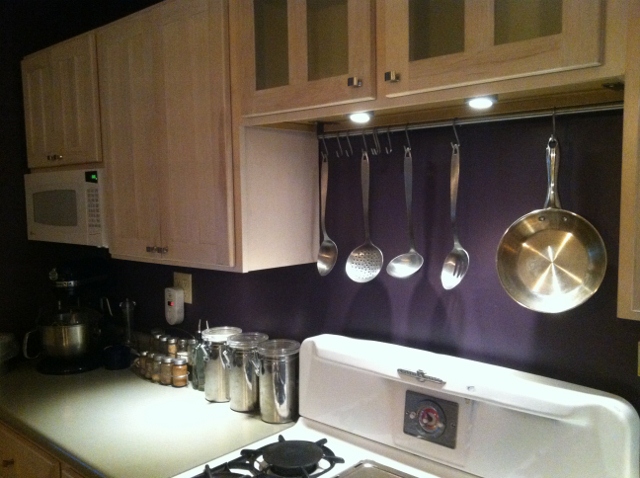
I continued the process of swapping out the lights and wired it up to the existing switch. Here are a few pictures of the completed project.
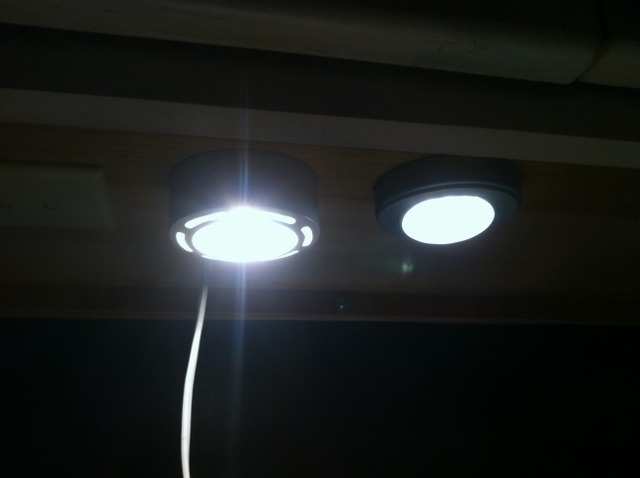
Also, being married to a graphic designer who is VERY picky about colors and lighting, I actually got a thumbs up on the final result. These lights are definitely cooler in color temperature than the ones I replaced, but have a pleasing color. I’m glad my wife didn’t make me change it back!
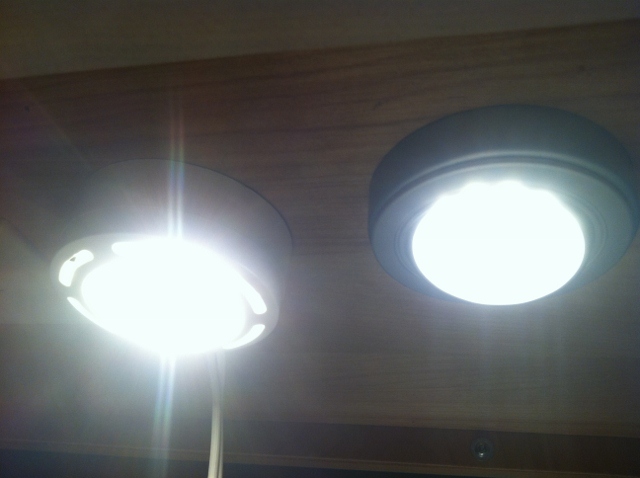
In case you are wondering what they look like side by side, I took a few pictures of that too. It’s a little tough to tell, but the LEDs are definitely cooler (in more ways than one!)
So if I can do it, so can you! If you are a little handy, this is not a tough project, and I expect it to save me $2-4/month on my electric bill, since these are some of the most used lights in my house and the rest of the bulbs are pretty much all CFL and LED already.
Take a trip to IKEA and check these out. You’ll also probably impulse buy $200 worth of stuff, but you’ll love it when you get home! You can also check out Lowe’s and Home Depot to see what they have.
If this is beyond what you feel like doing, just buy bulbs and change out the ones you use the most with either LEDs or CFLs. Only buy 1 at a time though, because they last darn near forever and it would stink to have 10 lights with bulbs you can’t stand!
Feel free to comment below and subscribe to the blog. If you really like this post, share it on Facebook with the button below (it’s new and it cost money, so please use it!)
If you haven’t already, like Energy Smart’s Facebook Page for other energy efficiency tips with zing!
Get the HVAC Guide

It's free! Make buying a new furnace, air conditioner, or heat pump less stressful.


