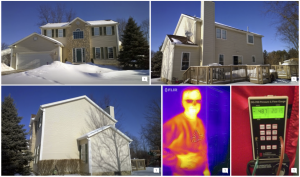
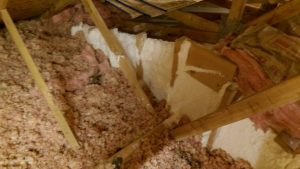
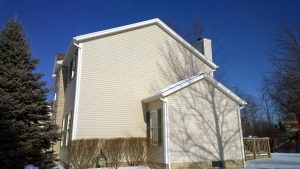
The second floor got too hot in summer. Their boys' rooms got too cold in winter.
This project is a great example of how our process is DIY friendly, Tim did the work himself.
Summary
Tim and Misty bought this house about 10 years ago and generally like it. Their two boys will go to Nordonia, the same schools that Tim and I met in over 30 years ago. Tim is a process engineer, so saying he likes to plan is an understatement. A few things were bugging him about his house, and he reached out to me to help diagnose them and help him plan how to fix them.
This case study shows just how friendly our process is to DIYers, be sure to check out the 1970s Colonial as well. You won’t find an insulation contractor who will tell you how to do his job. We will. Most importantly, like we did for Tim, we’ll make sure you get the order right so you aren’t doing something twice. We can help a great deal with planning. That way the odds of solving the problem(s) you brought us in for are very high.
His house is a very common one: two story colonials built between 1980 and today use very similar construction practices and have similar defects. If you’ve seen one, you’ve seen them all, for the most part. The second floor usually runs hot in summer, bath fans dump into the attic and cause mold on the roof deck, and a room or two doesn’t heat well. You’ll see how those got substantially fixed in this house with only a few thousand in materials.
Fair warning, this case study is a one off. It breaks from our carefully designed process. Unless you have known me for over 30 years and helped me do a ton of demolition on my first house, you’ll have to follow the usual process! What it is good for, though, is demonstrating the results you can get when you do it yourself. Tim is a pretty advanced DIYer, and he tackled this project without paid help. (Including me!)
Photo Album
See a bunch of project photos here.
Problems
- Second floor much hotter than first in summer, smelled “like attic”.
- Master bath fan doesn’t clear mirror to shave until 10 minutes after shower.
- Boys’ rooms run cool in winter.
- Mold is forming in the attic in the last 3 years.
Results
- Second floor within a few degrees of first.
- Master bath fan keeps the mirror clear to shave.
- More even temperatures throughout the house.
- Humidity levels in attic seem to be lower.
Client Feedback
Full disclosure, we’ve been good friends since we were 7. He was one of my groomsmen. I was one of his. Check the other case studies for less biased reviews. There is still a lot to learn from this one, though.
“You sure have engaged me and energized me to know and do more over the next several years to my house.” 11/30/15
Since air sealing the attic we have noticed that the house is more comfortable. This past summer the first thing that we noticed was that on the hot days when the AC was on the temperature difference between the two floors was only 2 degrees. In years past you would feel the temperature difference while walking up the stairs.
So far this winter or at least what we are calling winter the house is warmer at a lower set temperature on the thermostat and has varied 3 degrees between the two floors. Another thing that has helped was having Ken add a cold air return in the finished basement. Now the air is circulated and pulls the cold air off the floor. The humidity in the house has been in the high 40’s and has been as low as 37 a couple weeks ago when we actually had a couple cold days.
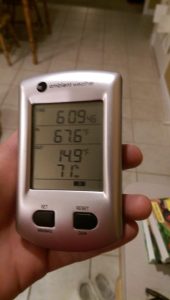
Also, the attic used to have a smell to it, it was not a bad smell and the best way to describe it was stale. I would smell it while up there or when I was putting up Christmas lights. Since air sealing, exhausting the bathroom vents out the sides of the house, installing new baffles and insulation the air has no smell. I can also feel the air moving while in the attic. And speaking of the attic, the temperature up there has been 5-15 degrees (different) as compared to the outside temperature and season. Humidity has been less in the attic than outside most of the time. Today for example, outside is 41.1 @ 92%RH and the attic is 46.7 @ 73% RH.
The amount of information that you have shared and taught me over the last year is simply amazing and I am glad that I was able to put it to use. I know this is just a starting point but what a difference it has made. And like I mentioned before you should have an Energy Smart Home Performance University so experienced do it yourself homeowners can learn and do. Tim R. Hall 12/17/15
Upgrades
-
Air Sealing and Insulation
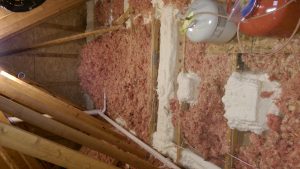
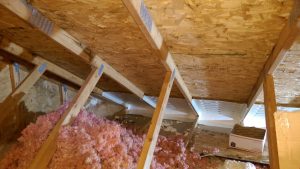
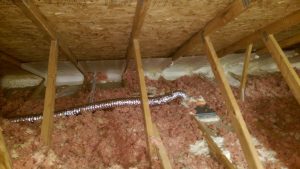
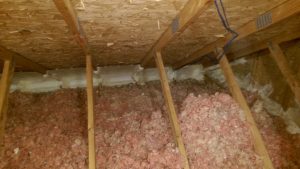
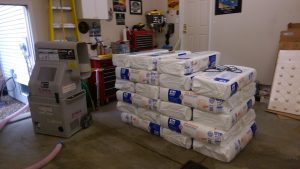
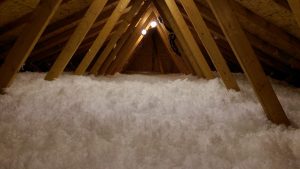
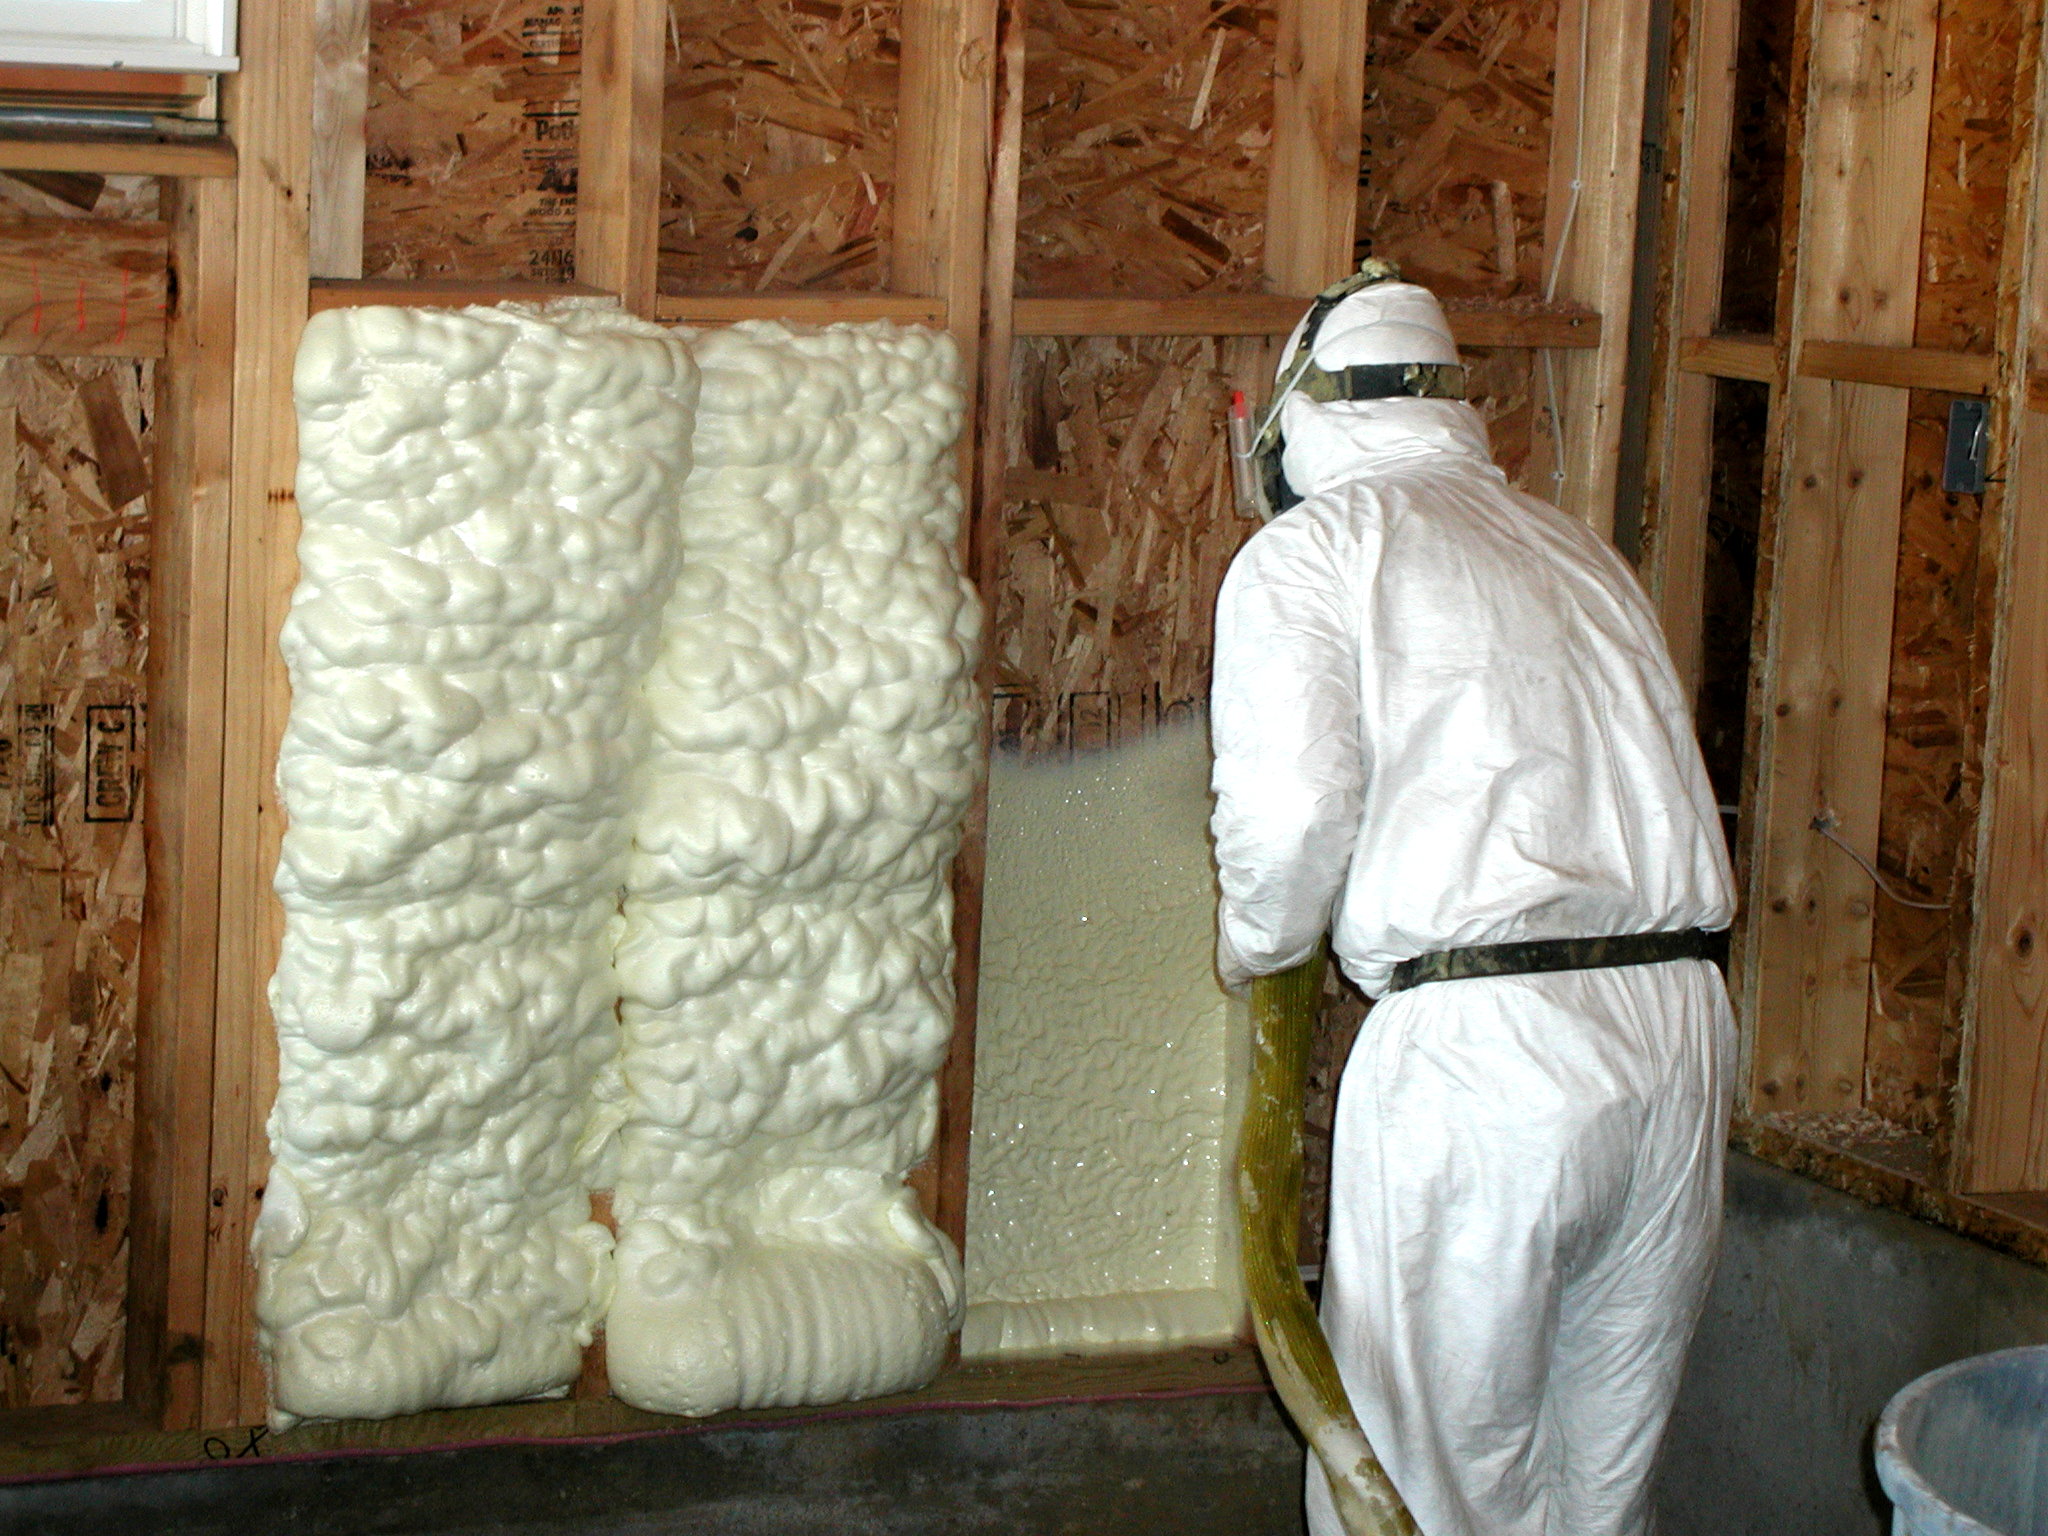
- Main Attic – Scooted insulation around, air sealed using a two part closed cell spray foam kit, installed ventilation baffles, blew blown fiberglass on top of existing insulation. All DIY.
-
Other
- Two new (and quieter) bath fans on second floor, vented through the walls. (DIY)
- NetAtMo IAQ monitor to keep an eye on carbon dioxide and humidity levels
Full Story
I’ll tell you a secret. I work with a lot of engineers. It just happens, I think it’s because I have a similar thought process. Maybe it’s because I almost went into mechanical engineering. Whatever the reason, about half of my clients are engineers.
Enough about me. Tim became a process engineer and was responsible for overseeing two major additions to local manufacturing plants in Twinsburg and Brecksville. I saw the plans he drew up, everything was color coded. The plans took a year to create, he kept iterating it to make it better and managed the whole transition with zero production downtime.
He was curious about Home Performance and making a plan for his house, so I showed up with my blower door, Misty fed me dinner, and was kind enough to watch my young daughter Felicity while Tim and I geeked out. Here’s what we found.
Diagnosis
Homes of this era are typically reasonably tight, I consider a house whose blower door (air leakage) number is the same as its square footage to be in decent shape. It would be a B- or C+ grade. (See the Home Performance 101 chapter to your right for much more on this.)
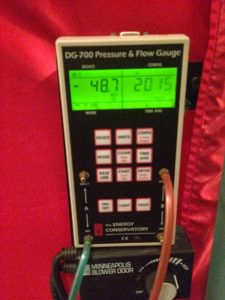
Tim’s house should be in the 1:1 range, so at 1950 square feet I’d expect it to be in the 2000 range, here’s what we found:
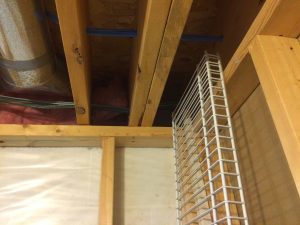
Sure enough, it’s pretty close to 1:1. Here’s the deal, though, even with this house being relatively tight, it still had some problems to solve. It matters a lot where those leaks are, if they are at the top and bottom of the house, it’s bad news. Here’s what the bottom of the house looks like:
This is a rim joist in the basement, which is the vertical board that sits on top of the foundation. Blue is cold, cold is bad. They are typically the intake point for cold air in the winter, which then rises up through the house. Here’s what this looks like in real life:
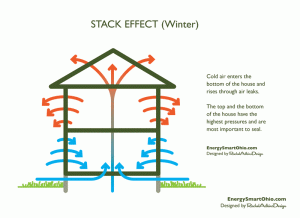
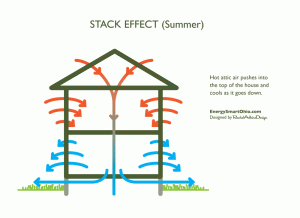
I’m going to sound like a total geek now, but the phenomenon of heat rising through the house in winter is called the stack effect. I even have a graphic for it:
Even though Tim’s house is relatively tight, it’s still leaky on the bottom, and as we’ll see in a minute, leaky at the top too.
Remember how one of his complaints was about the second floor being hotter than the first in summer? That’s caused by stack effect too, but somewhat confusingly is called reverse stack effect. Heat wants to go to cold, so the hot attic air finds anywhere it can to come into the cool house, it looks like this:
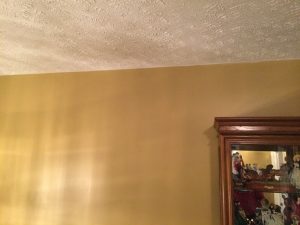
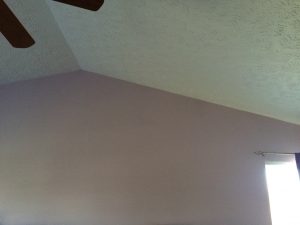
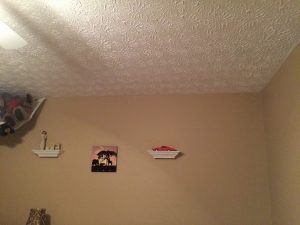
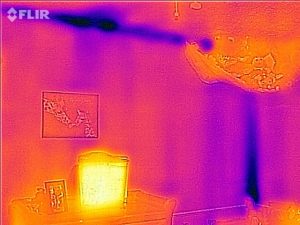
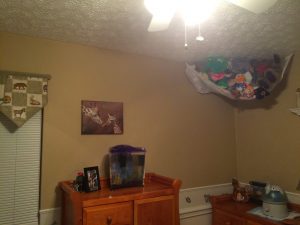
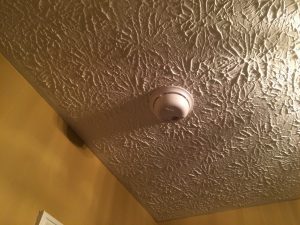
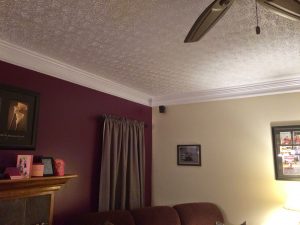
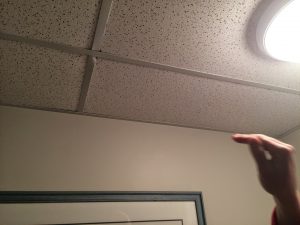
Let’s take a look at what the top of the walls on the second floor look like, here is one picture in regular light:
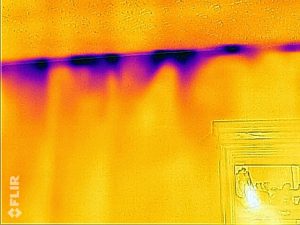
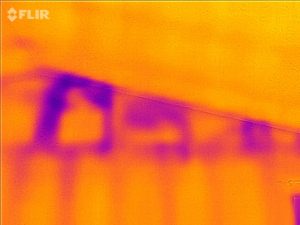
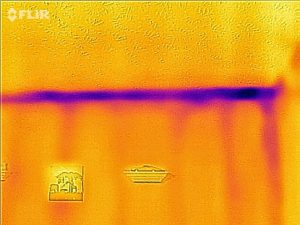
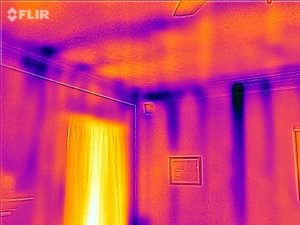
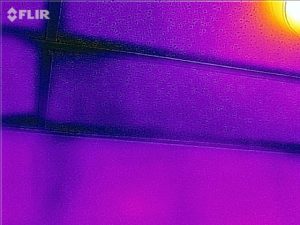
This is in the foyer on an interior wall (not an outside one!) And here it is in infrared:
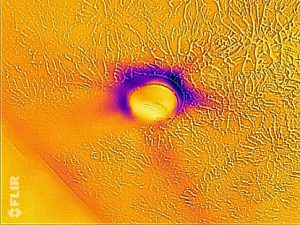
Yeow!! Blue is bad because it was very cold outside. Cold shouldn’t be coming into the house. My blower door was running in the front door and sucking heated air out of the house, which means it was sucking cold air into the house through any leaks.
Look closely, you can see the outlines of a two vertical studs at the top of the wall towards the left. On top of those studs is called a “top plate” that holds the top of the wall together. Top plates are typically very leaky. Tim’s sure were.
In the summer, this is one of the places where hot air and heat would sneak in and make the second floor hotter. Paired with an oversized air conditioner that naturally cools the first floor first (it’s closer to the AC in the basement), this problem is bound to happen.
Keep in mind that without a blower door and an infrared camera, these problems are pretty hard to find. You have to suck on the house pretty hard to see these things, and the hotter or colder it is outside, the better.
In case you’re wondering, here’s what a blower door looks like. I didn’t take a picture at Tim’s, so this is at my house:
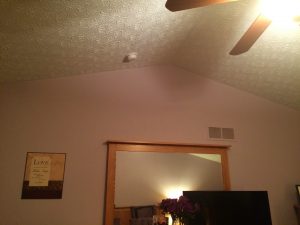
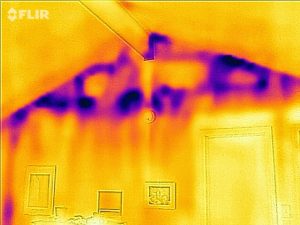
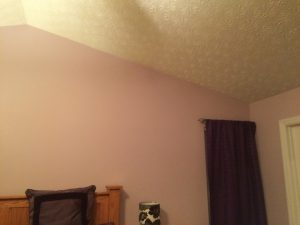
Let’s keep looking around Tim’s house, he has a fairly typical vaulted ceiling in the master bedroom, which is all purple, Misty’s favorite color. (I even had purple puffy things on my car at their wedding!)
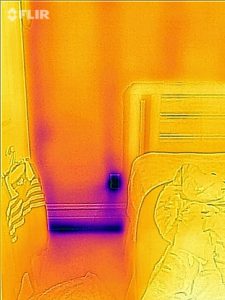
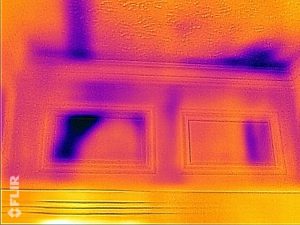
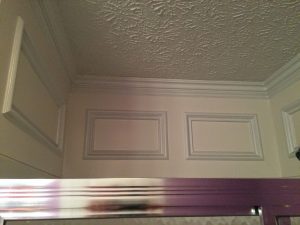
The curio from the last picture is on the other side of this wall, about where the left side of the mirror is, check it out:
Vaulted ceilings almost always are problematic. The insulation on the other side wasn’t touching everywhere, and there were some major air leaks. This is a classic problem that I see in almost every “new” home I look at.
A Brief Aside on Construction Techniques
I consider anything built in the last 35 years to be new. Construction techniques haven’t changed drastically in that time. Conversely, before 1980 I can date a home within about 10 years just by seeing how it’s built and what trim it has.
I’ve crawled through attics in over 1000 homes. You start to see similarities. Every house type has it’s own typical problems, but then every house has its own individual stuff to find and fix. I’ll be putting out chapters on different house types in time such as Cape Cods, Split Levels, Center Hall Colonials, Ranches, etc.
Pull Down Stairs Suck (Cold Air)
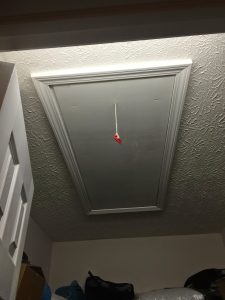
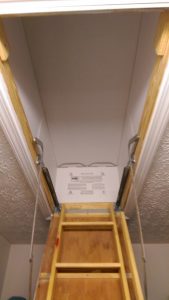
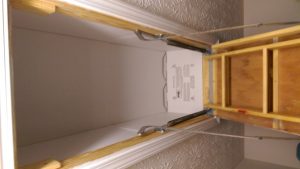
Pull down attic stairs are another classic leakage point, here is Tim’s attic access:
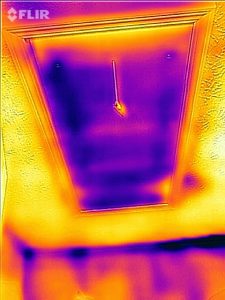
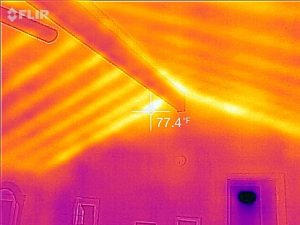
Here’s what that same scene looks like in infrared:
Pull down attic stairs are pretty tough to seal and insulate, you can tell this one has neither since the door itself is cold.
One thing I really don’t like about pull down stairs is that they encourage storage in the attic, which Tim and Misty took advantage of. It leads to squashing insulation, which often compounds comfort problems. Most attics are a bad place to store stuff. It gets up to 140-150 degrees in summer, and below freezing in winter. Use the basement or closets, if possible. Misty went on an eBay listing spree and sold a ton of stuff. Everything is out of the attic now. If you haven’t used it in a year, you’re not likely to use it again, she took that to heart and converted old stuff into cash.
Bath Fans Suck, But Not Like You Think
The rest of the upstairs looked similar to the images I showed you, lots of leaky top plates. But there’s another important leak to note as well.
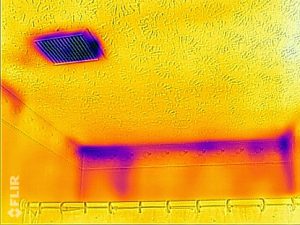
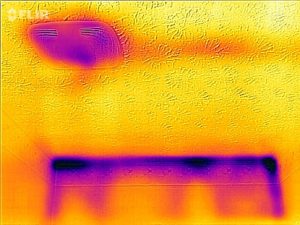
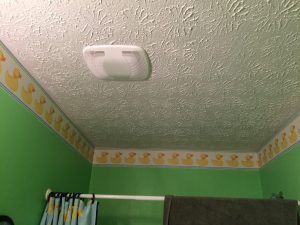
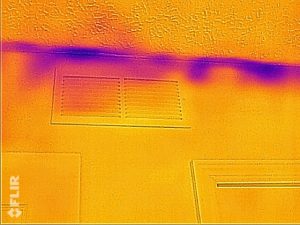
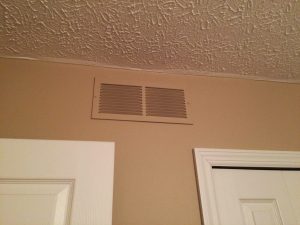
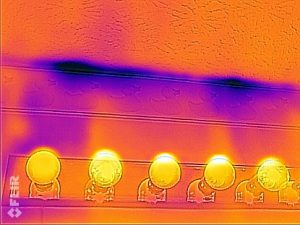
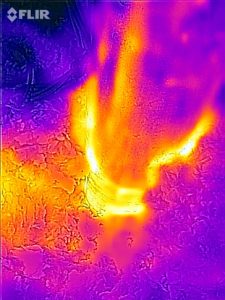
This is the kids bathroom. Again, the top plates are leaky, that’s an outside wall. Note the bath fan, though, it leaks like crazy. All bath fans leak, but they don’t need to leak that badly.
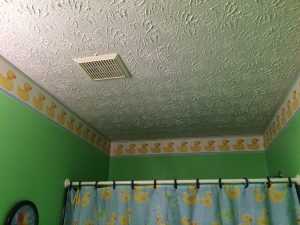
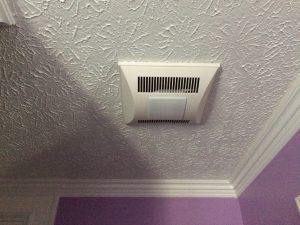
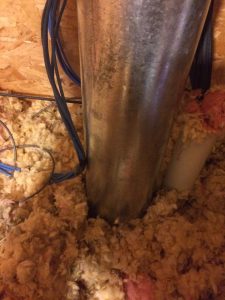
Here’s that same picture IRL. Looks pretty normal, right? This is a typical “builder grade” fan (which means the cheapest piece of crap they are allowed to install). They are typically $10-15. I call them “sound and fury signifying nothing” because they sound like a 747 on takeoff, but barely move any air. Typically they are good for 10-20 cubic feet per minute when you need to be over 50 cfm to have any prayer of clearing the mirror. For larger bathrooms you may need closer to 100.
Tim replaced the bath fan with an 80 cfm model, and the new one sucked much less in the bad way (leaking air.) I bought a tool since then to measure airflow, my bet would be it moves something like 40 cfm. Most fans only move ⅓ to ½ what they are rated for. Like I said, they suck, but not in the way you expect. It’s vented through the outside wall now, too, so the chance of mold problems is drastically reduced.
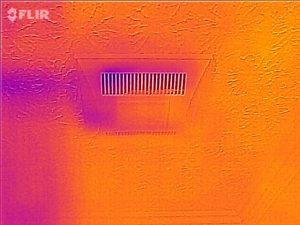
This is the new bath fan in the same place (note the duckies on the wall still.) It was an even colder day for this test, and the top plates didn’t get hit as well as I would have hoped. They are pretty cold still. The new bath fan leaks much less, though. You can also see the vent line on the ceiling where it comes into the fan.
Meanwhile, over in the master bathroom where Tim got annoyed waiting 10 minutes after the shower before he could shave, he replaced the old bath fan with this:
It’s a 110 cfm model, and a pretty expensive one, over $100 on Amazon (the best place to get them, typically about half what the big boxes charge, see the Energy Smart Store (which is powered by Amazon) for ones we like.
Note how little it leaks:
That’s pretty cool. Actually no, no it’s not. It’s pretty warm. This is taken a few minutes after the one in the kids’ bath. As you can see it barely leaks.
Want to know more about installing bath fans the right way? We have a free chapter on it, which you can download here:
The Project
I showed you a bit about the bath fans, but let’s dive into what the preparation work in the attic looked like.
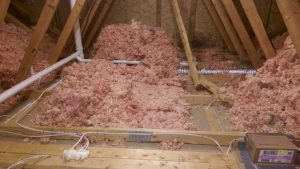
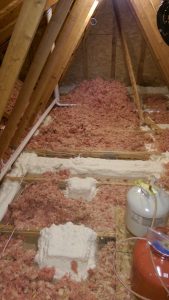
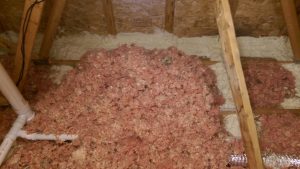
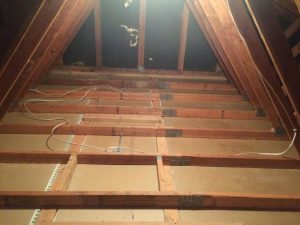
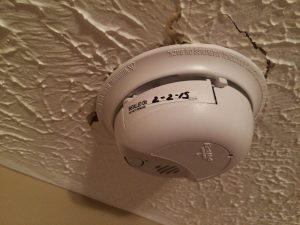
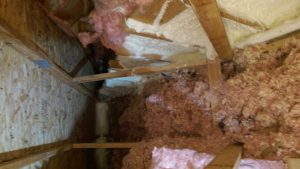
He left the blown fiberglass in the attic and moved it around with a rake. Note the cardboard box at the bottom right. That is covering a smoke detector. The box is about to get spray foamed, and closed cell foam is meaner than a hungry pack of wolverines. The stuff is strong. If you ever want to be able to get a smoke detector or bathroom fan out again, use this technique, but be cognizant of heat that fixture gives off, it could be a fire hazard. You may consider another material to cover fixtures, or changing fixtures to ones that don’t give off as much heat. If you have recessed lights strongly consider switching them to LED retrofit kits.
Also note the wood going left to right in the front, and then center right headed to the back of the picture. Those are top plates, the leaky things we saw in infrared earlier. These are interior ones, which are very easy to seal. The exterior ones are a lot harder. I’ll show those in a minute.
One Regret – Remove the Insulation
I mentioned earlier that Tim is a very capable DIYer. You know we like each other a lot. I need to pick on him just a little bit here because one of his other characteristics is that he’s frugal. It’s a strong recommendation on my part to remove all attic insulation so you can find all air sealing opportunities.
A few results on this job weren’t ideal, and leaving the attic insulation was likely a big part of it. As humans, we only have so much bandwidth and willpower, if you use too much of it on moving insulation around, you’re going to skimp on air sealing. And air sealing is hands down the most critical part of Home Performance. I’m a lot firmer on that now than I was when Tim did this, so part of this is my fault.
Let me repeat, air sealing is utterly critical. My five priorities of Home Performance are: air sealing, air sealing, air sealing, insulation, and the right HVAC. I just can’t stress air sealing enough. You need a blower door and an infrared camera to do it right. No ifs, ands, or buts.
Things just don’t work well if air sealing isn’t good enough. Thankfully for Tim he hit the tipping point and felt big results, but it’s very easy to miss the tipping point. It would stink to spend all this time and effort if you don’t feel a massive change in how the house functions. Please buck up and suck the insulation out. Many pest control companies do it.
OK, enough giving one of my groomsmen a hard time. Much of my frustration is aimed at myself for not stressing insulation removal more. He did a great job on everything else. Let’s take a look.
Air Sealing the Attic
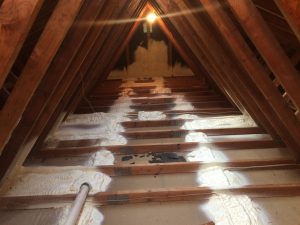
This is basically the same shot as the last one, but after Tim foamed everything. You can see the 600 board foot spray foam kit he used to do it. Note how the top plates are all covered with white now, which is foam. He used boxes liberally on top of light fixtures, that’s not strictly necessary, but that’s the engineer in him doing contingency planning. If you are planning on adding ceiling fans or light fixtures, do all that work before air sealing.
This is the same as the last picture, but closer to the outside wall by 20 feet or so. Note the bottom of the outside wall (also called a gable end wall). Tim foamed that as well.
Let’s take a look at the trickiest part of the house to seal:
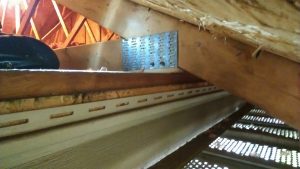
Tim sent me this amazing shot which is above the soffit of the second floor. He is right below the roof standing on a 20 foot ladder. Look at where the siding ends. See the joint where the plywood meets a 2×4 top plate? That is a critical leakage point. If you’re like me, you’re poo-pooing that, I used to. It doesn’t seem like it matters. It does. Unfortunately, that joint is nearly impossible to hit, often the only way is from this angle.
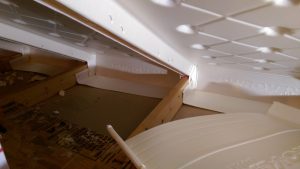
After sealing top plates around the outside of the house, Tim put in these great ventilation baffles which keep wind from blowing through the attic insulation:
He also sealed and insulated the “knee wall” of the vaulted ceiling in the master bedroom.
This knee wall used to look like this:
Like a dummy, I forgot to take an after photo… Yep, a lot of buildup for nothing, sorry.
Here is the other side of the master bedroom:
It used to look like this in infrared:
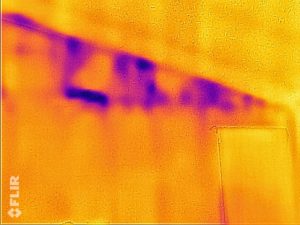
Note how sharp the blue lines are. Here it is post project:
This was a colder day, but the lines are much more diffuse. By Tim’s own admission, he got a bit tired here and could have done more. I wonder if that would have been the case if he had a totally clean attic. It’s still accessible should he decide to change that.
Here’s an example of another similar wall on the 1970s Two Story Case Study before the project:
Note how much blue there is. This was taken on a cold day.
This is taken on a warm day, so yellow and white are bad. Ignore the ceiling (read the case study for why), pay attention to the triangle shaped wall that was blue before. It should have a bunch of yellow/white spots on it. It doesn’t. To be fair, we had full access to this wall where Tim didn’t, so it’s not purely apples to apples. It does give you an idea of what’s possible. The blue in the bottom right is a damp towel in the bathroom, by the way.
We totally cleared that attic in the 1970s Two Story, it looked like this:
See how clean and neat it is? It’s a nice place to work. Well, relatively speaking. If you’re a midget who’s into contortionism, it’s practically ideal! Here’s how that attic looked after air sealing:
Tim’s would have looked largely the same if the insulation had been removed.
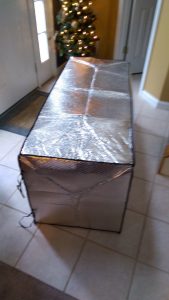
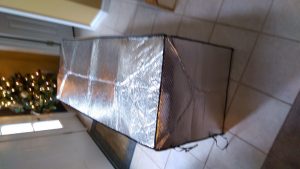
Tim opted for a Battic Door cover on his pull down stairs. Sorry for the blurry image, it looks like this:
He chose it because it has a high R-value. Installed it looks like this:
We found that there was no difference in blower door number with it on or off. Translation: it’s not a good air seal. I’ve used a product called Attic Tent with good success (it’s in the Air Sealing section of the store.)
The Proof is in the Pudding, um Blower Door
While I gave Tim a bit of a hard time in some spots, he achieved a major leakage reduction on his house, it started at 2015 points, it’s now:
Attic work alone led to a 571 point or 28.3% reduction in leakage. That’s pretty cool. I expected more like a 300-400 point drop. Despite some infrared work that shows a bunch of leakage remaining, he sealed enough stuff up to hit a tipping point, as his testimonial said.
Most importantly, I helped him create a plan. He knew he needed to replace the bath fans first. Then tackle air sealing. Then ventilation baffles, and finally additional insulation. Unlike just about any other company out there, we work well with DIYers.
Next Steps and Fresh Air
Tim didn’t end up doing the Comprehensive Planning Process that we offer, which includes soup to nuts plans for everything from a simple attic upgrade like Tim did to a full air sealing and insulation retrofit with a new furnace, air conditioner, and/or heat pump. You’ll note a number of things missing in this case study like load calculations (how much it takes to heat and cool the house.)
With the house extra tight, I’m concerned humidity levels may get too high, which can lead to other mold problems. A tight house can also get stale air inside, when carbon dioxide levels get too high we don’t make decisions very well. We humans exhale high levels of carbon dioxide, so a tight house plus four occupants could be a problem.
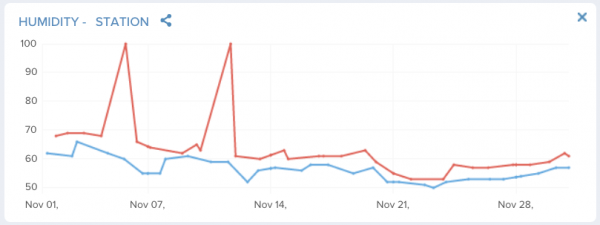
He bought a NetAtMo weather station which tracks humidity and CO2. The following chart is from November 2016. Tim and Misty’s CO2 levels (which we exhale) are indeed a bit high:
Outdoor CO2 levels are about 400-450 parts per million (ppm). The ideal range is under 700 ppm indoors. As you can see, they are running over 1000 ppm most of the time. Berkeley National Labs found that decision making ability started dropping fast above 1500 ppm, so even 1000 likely has an effect. I suspect the big dip was when they opened the windows on an unusually late nice day. So carbon dioxide is an issue. What about humidity?
Pay attention to the blue line, that’s the low. Red is the maximum level.. At this time of year humidity should be dropping. It should never be above 60% (which it is at the beginning). In summer the ideal range is between 40-50%. Humidity is still in the 50-60% range, on the high side for summer, except it’s not summer anymore. Winter humidity levels should be in the 30-40% range to prevent condensation on outside surfaces, which can lead to mold and rot. I’ve seen worse than this, but I’ve seen a lot better, too.
How will Tim control carbon dioxide and humidity? He has a lot of options, actually, which I’m sure we’ll be discussing the next time we have lunch.
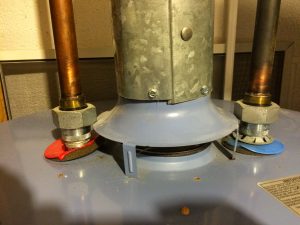
When his furnace conks out, he’s set up for a drastically smaller system. He also needs to air seal the basement to reduce humidity coming in during the summer, but when he does that his house may be so tight that the water heater won’t draft anymore, and it will dump fumes into the basement. Very few upgrades can be done in isolation without affecting something else. He happened to get away with it this time, but I find the odds are about 50/50 at best.
But all that will be done at his pace. For now the second floor is much closer to the first temperature-wise, his boys’ rooms aren’t extra cold anymore, and the chances of mold in the attic are reduced.
What About You?
The really key thing is, Tim was able to do all this work himself with just a little guidance from Energy Smart. Are you an avid DIYer as well? We can help you figure out how to solve problems in your home, then help you get the work done. We’ll let you know when it’s best to pay someone and when you can tackle something yourself. We actually give you budget amounts both ways in our Comprehensive Planning Process.
But none of that happens until after an Initial Consultation where we figure out what you want to solve. And we don’t recommend an Initial Consultation until after you do some reading. The best thing to start with is the free Home Performance 101 guide on your right. Start there, and we’ll help guide you through the whole process, you aspiring Mike Holmes, you.
Want to read more reviews? Check Google and Angie’s List, which is now free when you sign up. (Note that most of the Angie’s List reviews are from our contracting days.) When you’re ready, get an initial consultation by clicking the “Get Started” button at the top right of every page.
Detailed Numbers
Gas Use Before 961 therm
Predicted Use After N/A
Actual Use After 756 therm
Electric Use Before 8841 kWh
Predicted Use After N/A
Actual Use After 9108 kWh
Energy Savings Predicted N/A
Energy Savings Actual N/A
Energy Use
Electric
- 1 year before 8841
- 2 years before N/A
- 3 years before N/A
- 1 year after 9108
- 2 years after N/A
Natural gas
- 1 year before 961
- 2 years before 1008
- 3 years before N/A
- 1 year after 756
- 2 years after N/A
Duct Leakage
- Before N/A
- Predicted N/A
- After N/A
IAQ measurements
- Before N/A
- Predicted N/A
- After N/A
Load Calc Heating/Cooling
- Not calculated, no energy model done.
Zonal Testing After (No Before Testing)
Basement 6.5/50
Laundry 0.9
Half bath 0.3
Master closet with hatch 1.5
Master bath 1.0
Master bedroom 3.9
Matthews room rear right 0.9
Cameron’s room 1.1 front right
Kids bath 0.7


