Habitat House Part 3 – Planning to Solve Problems
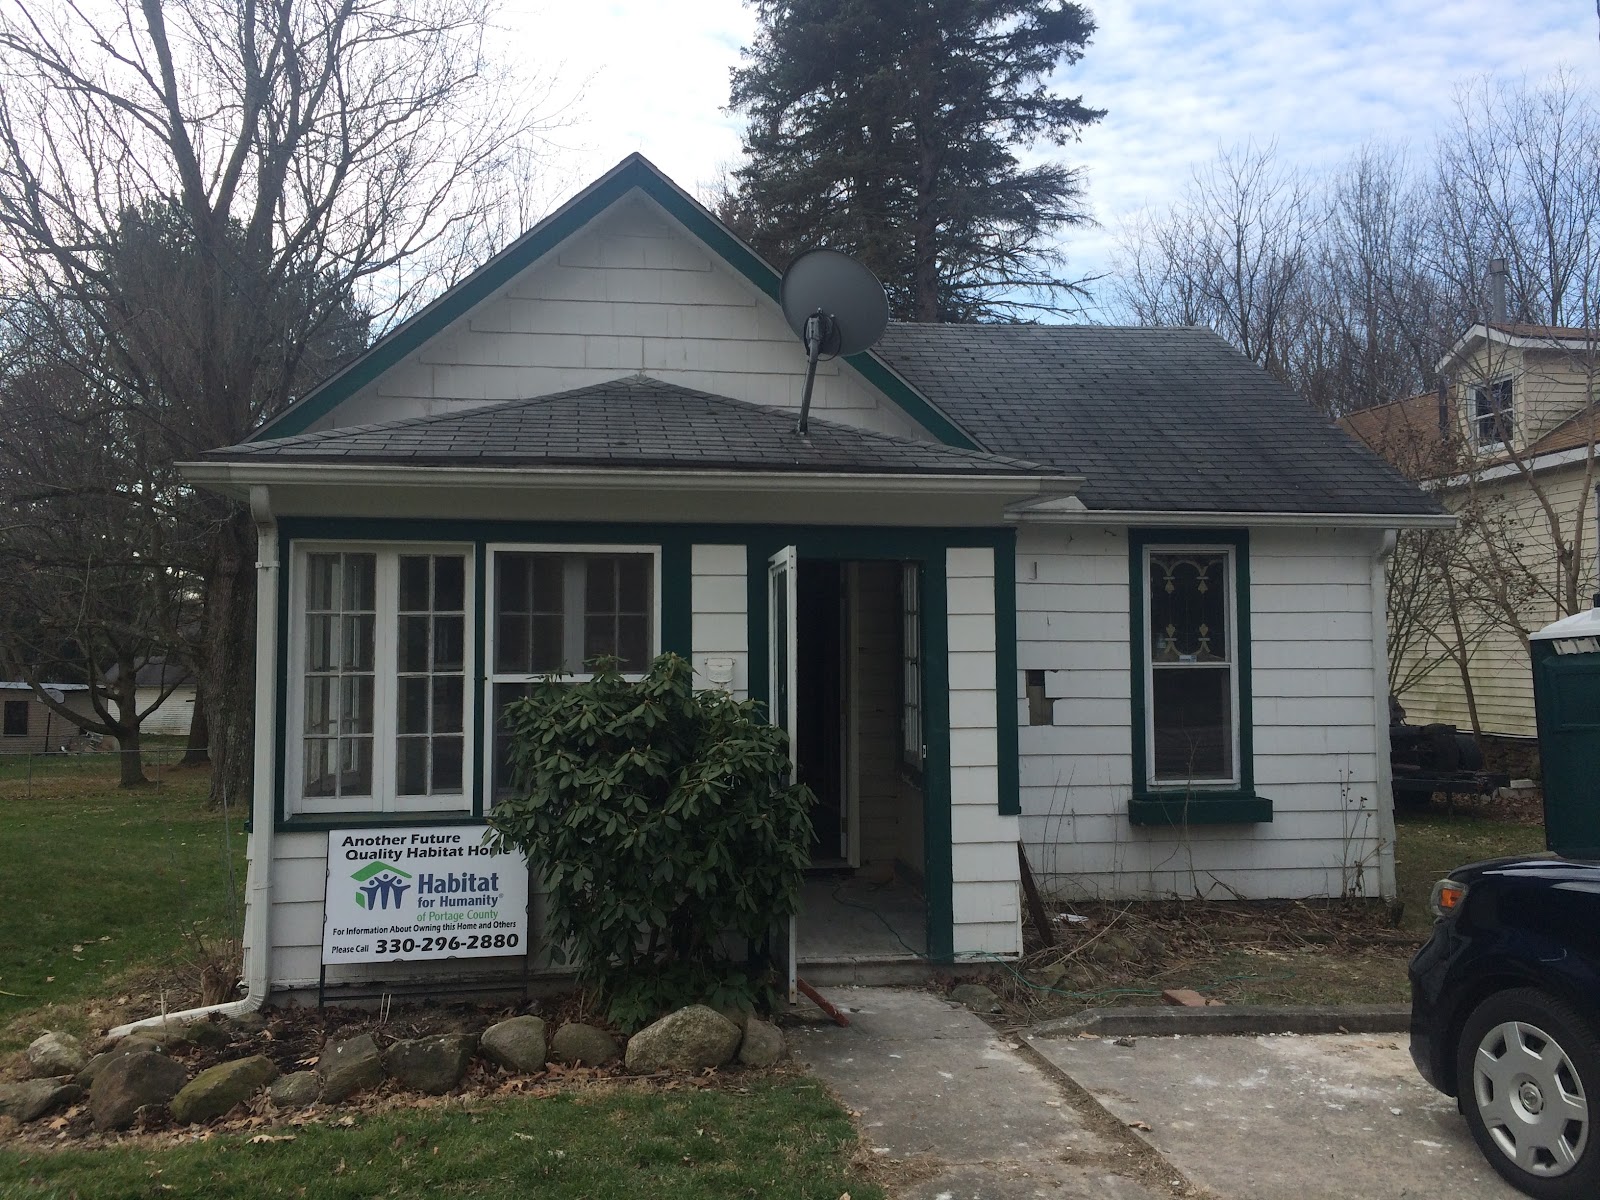
This is the third article in a series about a Deep Energy Retrofit of a Habitat for Humanity of Portage County project. Now that we have priorities and budget, and the energy audit is complete, it’s time to figure out what we’re going to do to the house.
Energy Smart’s projects start with a ton of planning to begin to winnow many options down into a few, then winnow further into the final option that we’ll execute. Let’s briefly take a 30,000 foot view at why we do planning the way that we do.
Why We Plan from 30,000 Feet
If you haven’t read Switch yet by Chip and Dan Heath, I highly, highly recommend it. They talk about how if we’re going to make big changes, we have to get our rational and emotional minds going the same direction. They liken the rational mind to the rider of an elephant. The elephant is our emotional mind. The rider can direct the elephant for a while, but in time it gets tired and the elephant just goes where it wants. Think about eating junk food when you know you shouldn’t. Your elephant just won.
The Heaths say that if you want a major change to happen, you have to get the rider and elephant going the same direction. It’s important to set a path with clear boundaries that hopefully slopes downhill. Then it’s easy to stay on the path, plus the path is easy.
That, in a nutshell, is why we do our planning process, and in fact our entire process. We could drag clients kicking and screaming to do a retrofit our way, but we’d rather go slowly and methodically, taking time to educate our clients and get their rider and elephant going the same direction.
For example, everyone wants windows, it’s now an emotional response because the window industry has done such a good job programming us. I have to guide clients to see that there are far better ways to spend their money. Often I can execute a complete and substantial retrofit for about the same money a window job would cost. Big comfort gains and energy savings happen with Energy Smart projects, window projects often disappoint. Moving clients from this focus on windows (a product focus) to a results focus is a heavy lift that takes data, time, and planning to make the case for.
Our planning process helps lay out the path Chip and Dan talk about. It’s like putting bumpers up at the bowling alley. Like it or not, the ball is getting to the end. As a project designer and manager, it’s my job to make the path downhill. Planning helps make the path simpler and easier for both homeowners and contractors. Energy Smart takes care of the important but invisible details that often lead to lack of results.
If we do our job right, we get the rider and elephant going down a defined path, downhill. It’s still typically a bumpy ride, but it sure makes it easier.
Back to the House
Getting back to this house, first we need to review priorities, budget, and problems we found in the energy audit. At this point I have a few paths sketched in my mind, this process will help my partner and I hone in on the one we feel is best. (We’re thankful that Scott Craven, Habitat’s project manager, has already done all electric homes, so convincing him to remove the gas meter was an easy lift for a change!)
Priorities
-
1. Client Focus – Make a really nice, comfortable, healthy, durable, and efficient place for the clients to live. Inexpensively. (That last part is hard!)
-
2. Bleeding Edge – Push the boundaries of what’s possible for any retrofit, let alone a Habitat one. Advanced air sealing and insulation paired with cutting edge HVAC design.
-
3. PR – Leverage the project into more projects like it. Partly we’ll do this by collecting data.
-
4. Leadership – Hopefully influence Habitat thinking nationally.
Budget
Budget is around $20,000 for insulation, HVAC, plumbing, roofing, and electric. Plus whatever we can convince suppliers to either gift to the project or give a discount on. Volunteers help keep labor costs down. Some volunteers are very skilled, others less so. All possess a can-do attitude, which certainly makes my job easier!
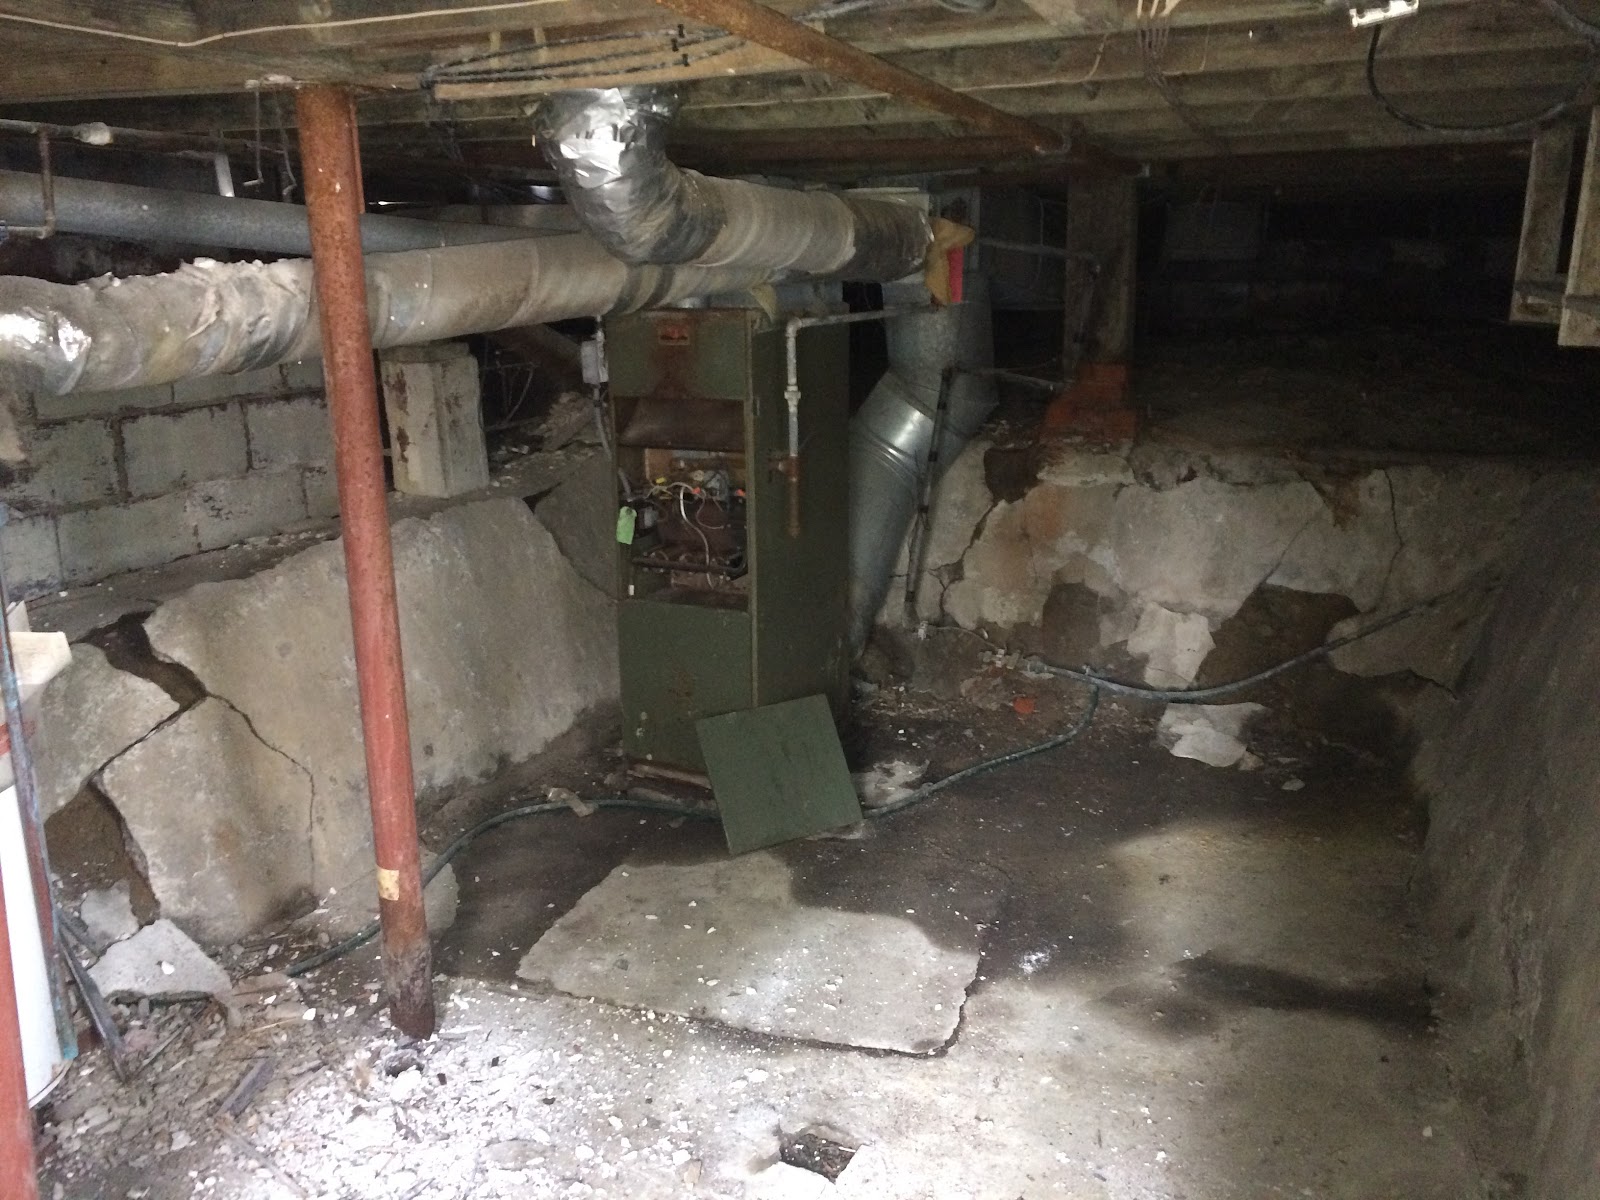
The basement at the beginning of the project.
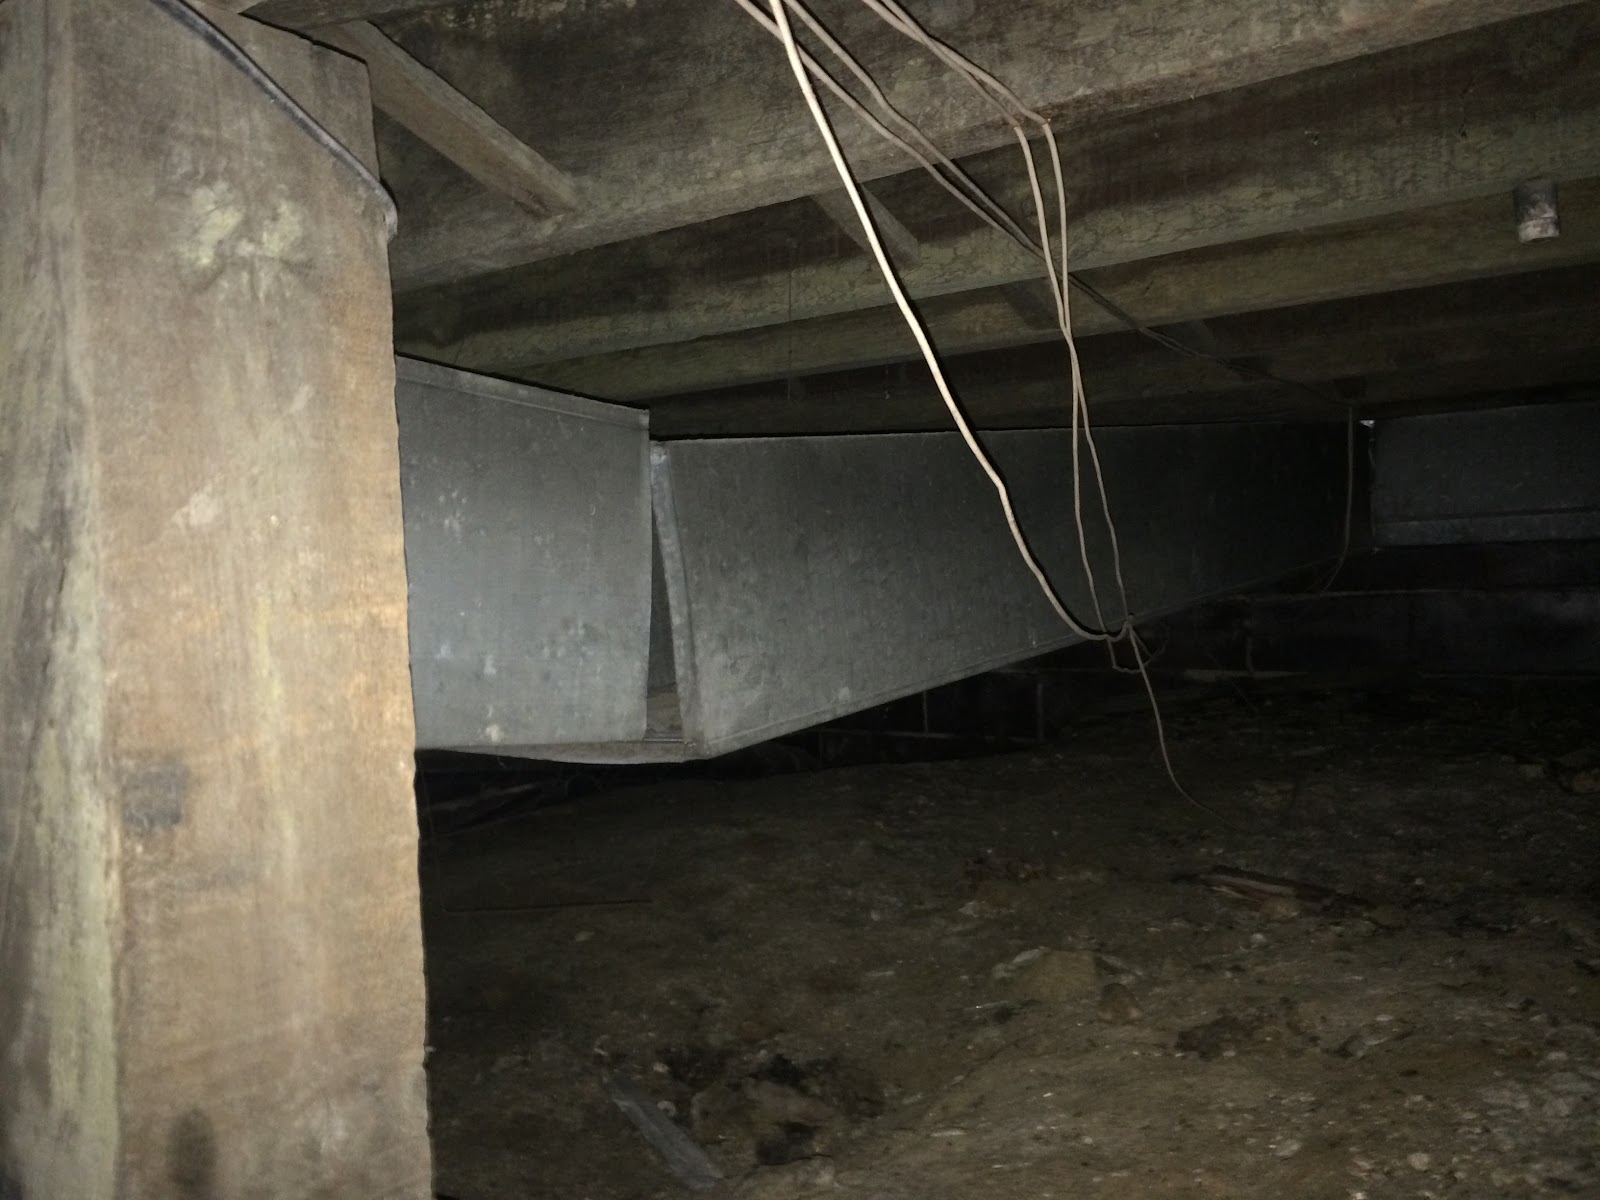
A partially disconnected duct as I found it.
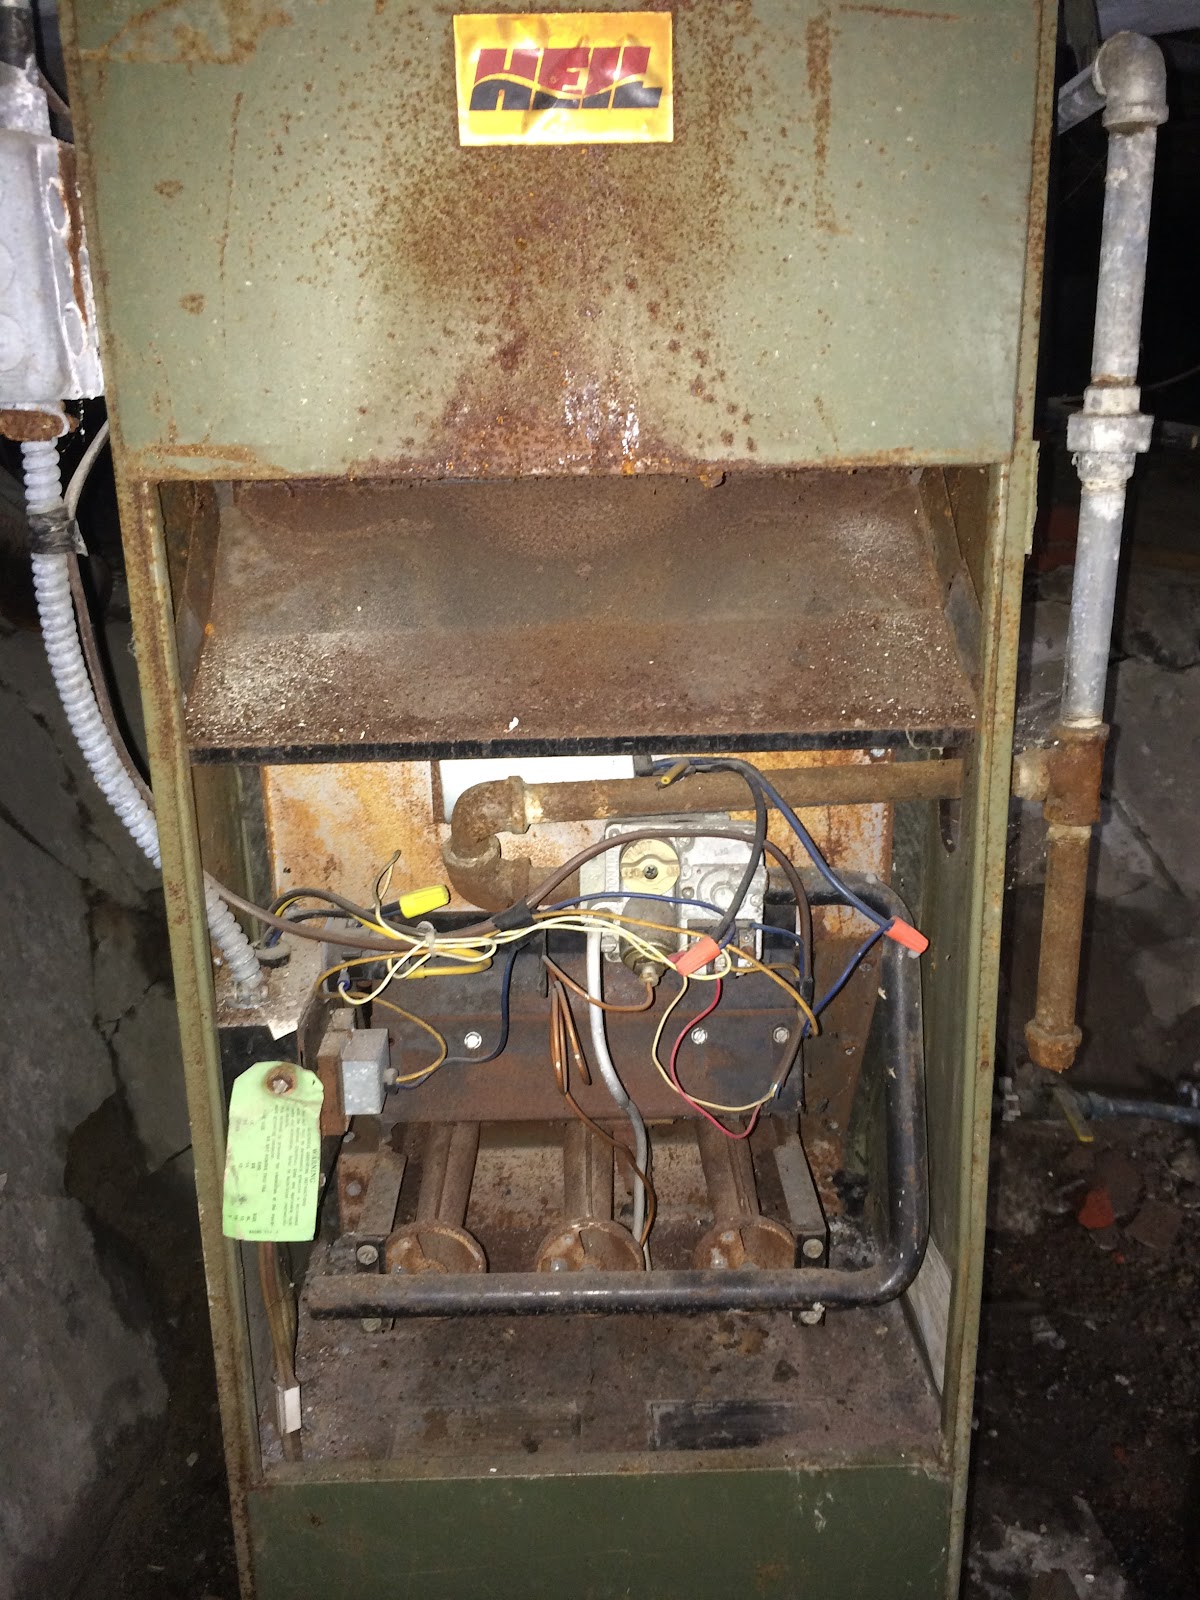
The old furnace. It gave its all! It’s time for a replacement.
Problems (or Opportunities in Glass Half-Full Land)
The house is riddled with problems we need to deal with:
-
Mechanicals Are Shot
a. Furnace deemed unsafe and ‘red tagged’ by gas company
b. Duct system is shot
c. Water heater deemed unsafe and red tagged
d. Federal Pacific Stab-Lock electric box which were (sort of) recalled
e. Plumbing weirdness and patching, it needs to be redone
-
Moisture Problems
a. Wet crawlspace and basement with dirt floor
b. Mold everywhere on the roof deck
c. Several major roof leaks, lots of rotten roof deck sheathing
-
Foundation Issues
a. Lots of missing mortar in the clay tile foundation, potential air and water leakage
b. Exterior basement stairway foundation is very poorly done
c. Exterior basement stairway door is very rusty
d. Exterior basement stairway wall opening needs a door to get an air seal
e. Cracks in left rear foundation under kitchen
f. Front porch is about to fall off the front of the house. It’s so crooked even politicians would call it corrupt.
This home normally wouldn’t have been purchased by Habitat for Humanity of Portage County. As I mentioned last time, there was a very specific wish list: an existing home in Ravenna, Ohio, an open floorplan, and easy disabled access. Sadly, the client passed away suddenly before the project was even begun. The basement and moisture issues were not considered as part of the equation. This is understandable because very few people know what serious issues a wet basement can cause. It’s time to take the lemons and make lemonade out of them!
HVAC aka Furnace and Air Conditioner
This is frankly the easy part. Scott is used to taking homes all electric, using a heat pump instead of a furnace. Going all electric is my preference as well, I have 3 all electric homes under my belt now. When designed and executed carefully, they are inexpensive to operate. Often very similar to operating a home with natural gas, despite the extremely low prices for gas right now.
There are two primary pieces of electrically powered HVAC equipment, a water heater and a heat pump.
Electric water heaters are very common. While standard ones are more expensive to operate, it’s less of an issue for a small household like this one.
A heat pump is an air conditioner that can heat as well as cool. We will run a detailed load calculation to help decide what model we will install. A load calculation says how much heat or cool is needed on a very cold or very hot day. We also plan to provide year-round dehumidification and a fresh air system. More on this in the next article.
Now we need to deal with the foundation and moisture issues.
Foundation, Cellar, and Crawlspaces
Neither Scott nor I is an expert on foundations. Scott had the foundation looked at. He was told tuck pointing should be adequate.
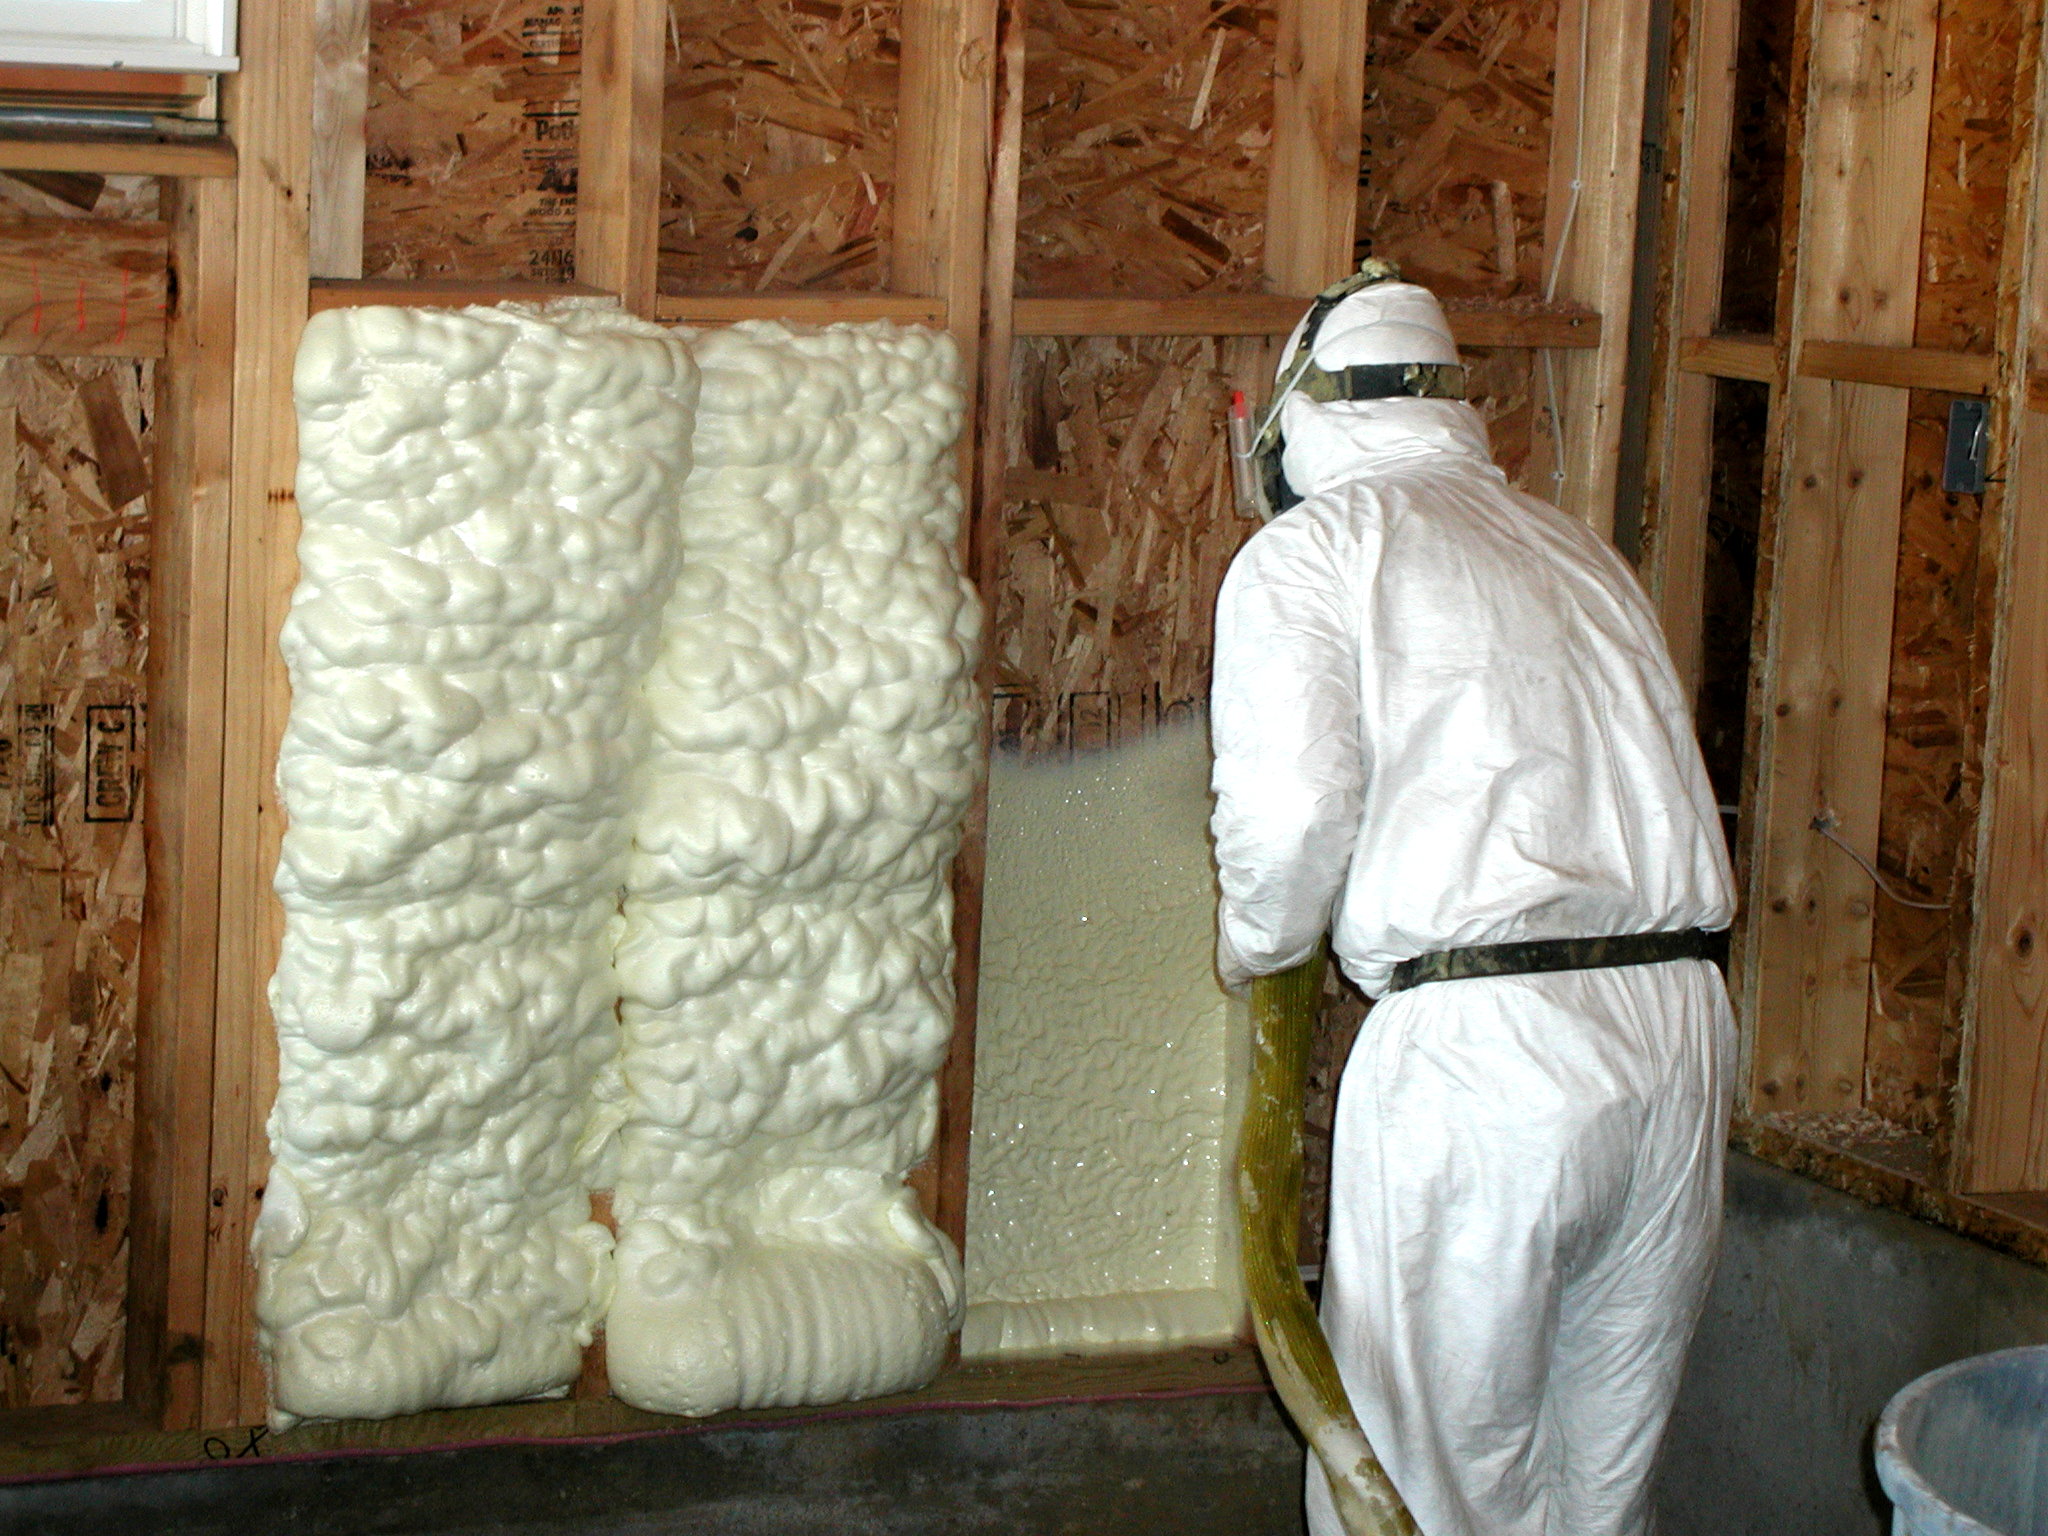
On the inside, we can “encapsulate” the basement and crawlspace, which involves putting a thick plastic vapor barrier down on the floor and then spray foaming the walls with closed cell spray foam.
Let’s stop for a moment for a few definitions. There are two types of water that commonly need to be dealt with: liquid and vapor.
-
Liquid water has to be dealt with first by making sure water can’t come into the house with a good foundation and roof.
-
Water vapor is water in the air. It’s trickier to deal with in some ways.
Next, we need to define vapor barriers and vapor retarders.
-
Vapor Barrier: A material that effectively stops water vapor going through it is called a vapor barrier. Plastic and glass are common ones. It’s important that any building materials are able to dry out after they get wet, so vapor barriers are often dangerous because they make moisture get stuck someplace. Then bad things like mold and rot and termites can happen. Perm rating of 1 or less. A perm is a measure of permeability.
-
Vapor Retarder: These still allow some water vapor to move through them, but at a much slower rate. Drywall and paint are common vapor retarders. Perm rating of 1-10. With the exception of below ground areas, this is usually my preference.
The closed cell spray foam will largely stop liquid water from coming through wherever it’s applied. Being oil-based, it’s impervious to liquid water. Any water that still comes in will stay under the vapor barrier and outside of the house. The house is on a small hill, so drainage will tend to go behind the house.
Closed cell spray foam also drastically slows down water vapor, it’s a vapor retarder when it’s less than 2” thick. See the resources at the end for more info on crawlspace encapsulation. I budgeted about $2000 for the crawlspace encapsulation which includes the vapor barrier and foam.
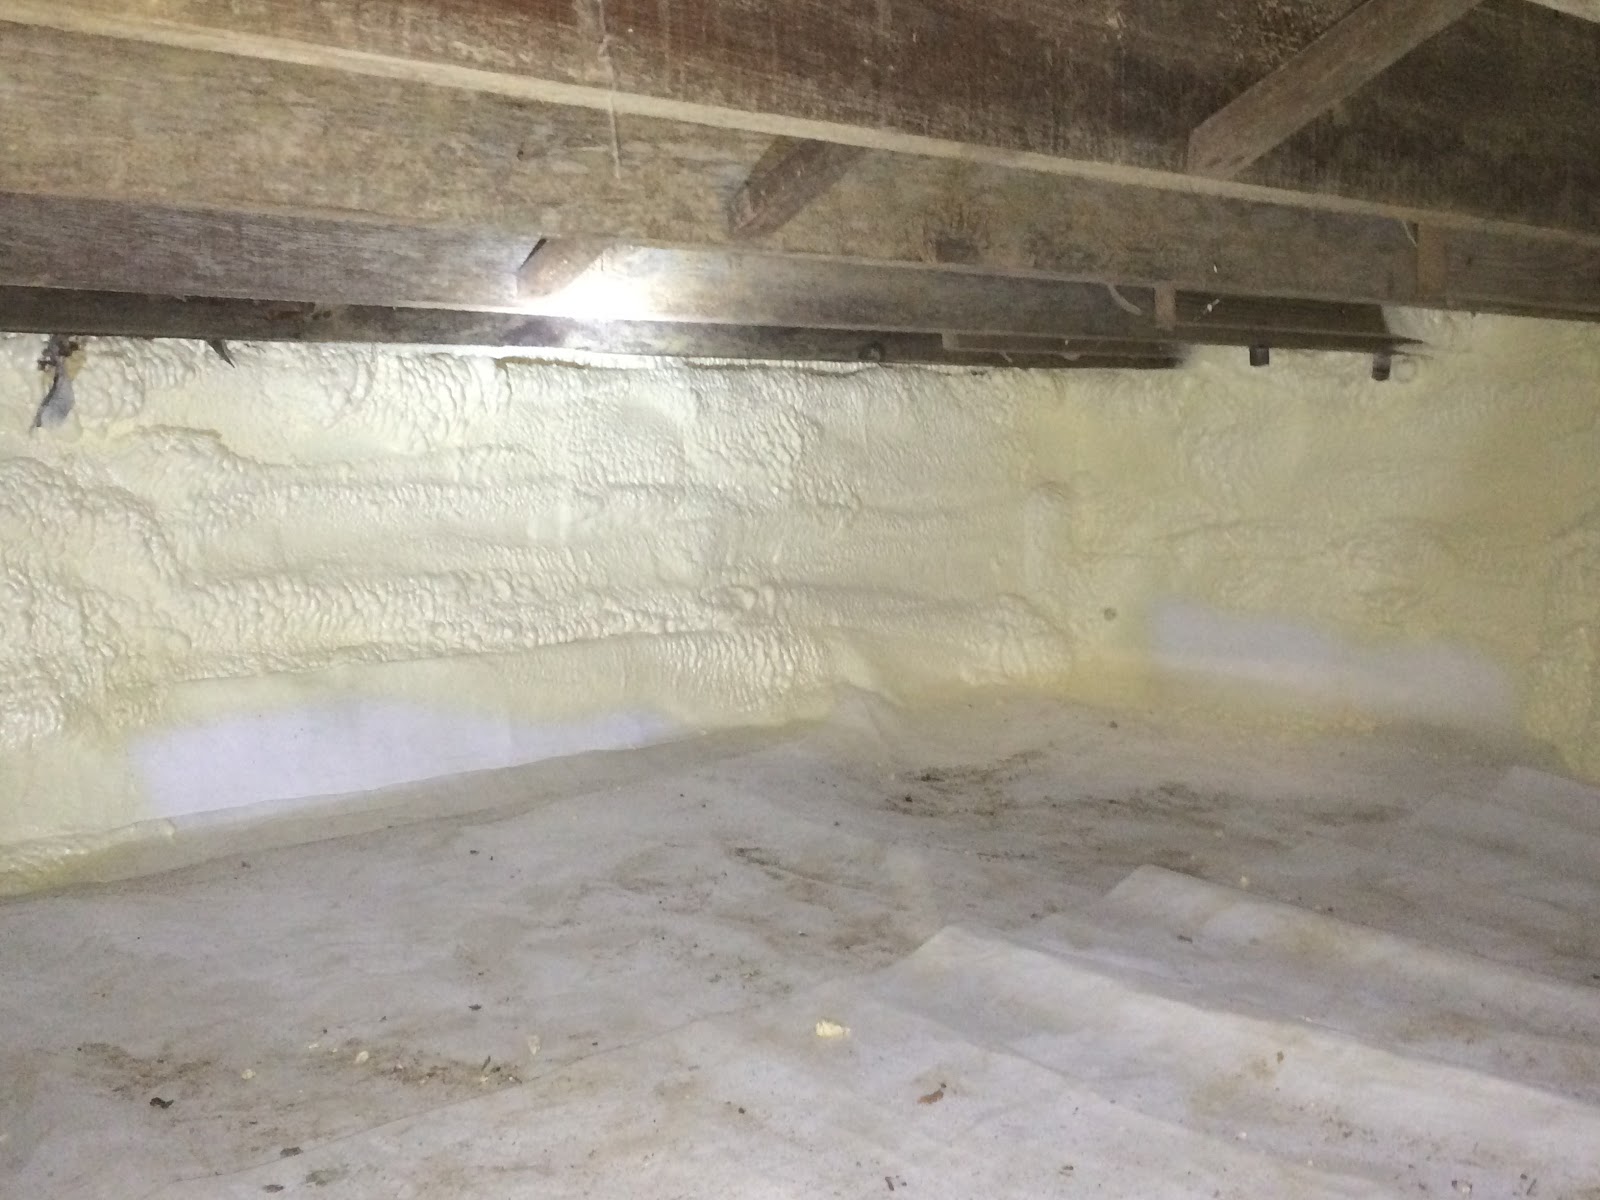
The seam still needs to be taped and the dirt cleaned up, but this is what a good crawlspace encapsulation job looks like.
We’re not sure yet how we’re going to tackle the stairway, that’s one piece I’m dropping in Scott’s lap, hopefully he knows a foundation guy.
Moisture Problems
This is probably the most challenging piece. The house is wet and has been for years. There’s mold everywhere. The roof leaks. Termites have eaten a few spots. Yuck! I still think it’s doable.

The roof deck over the bedrooms.
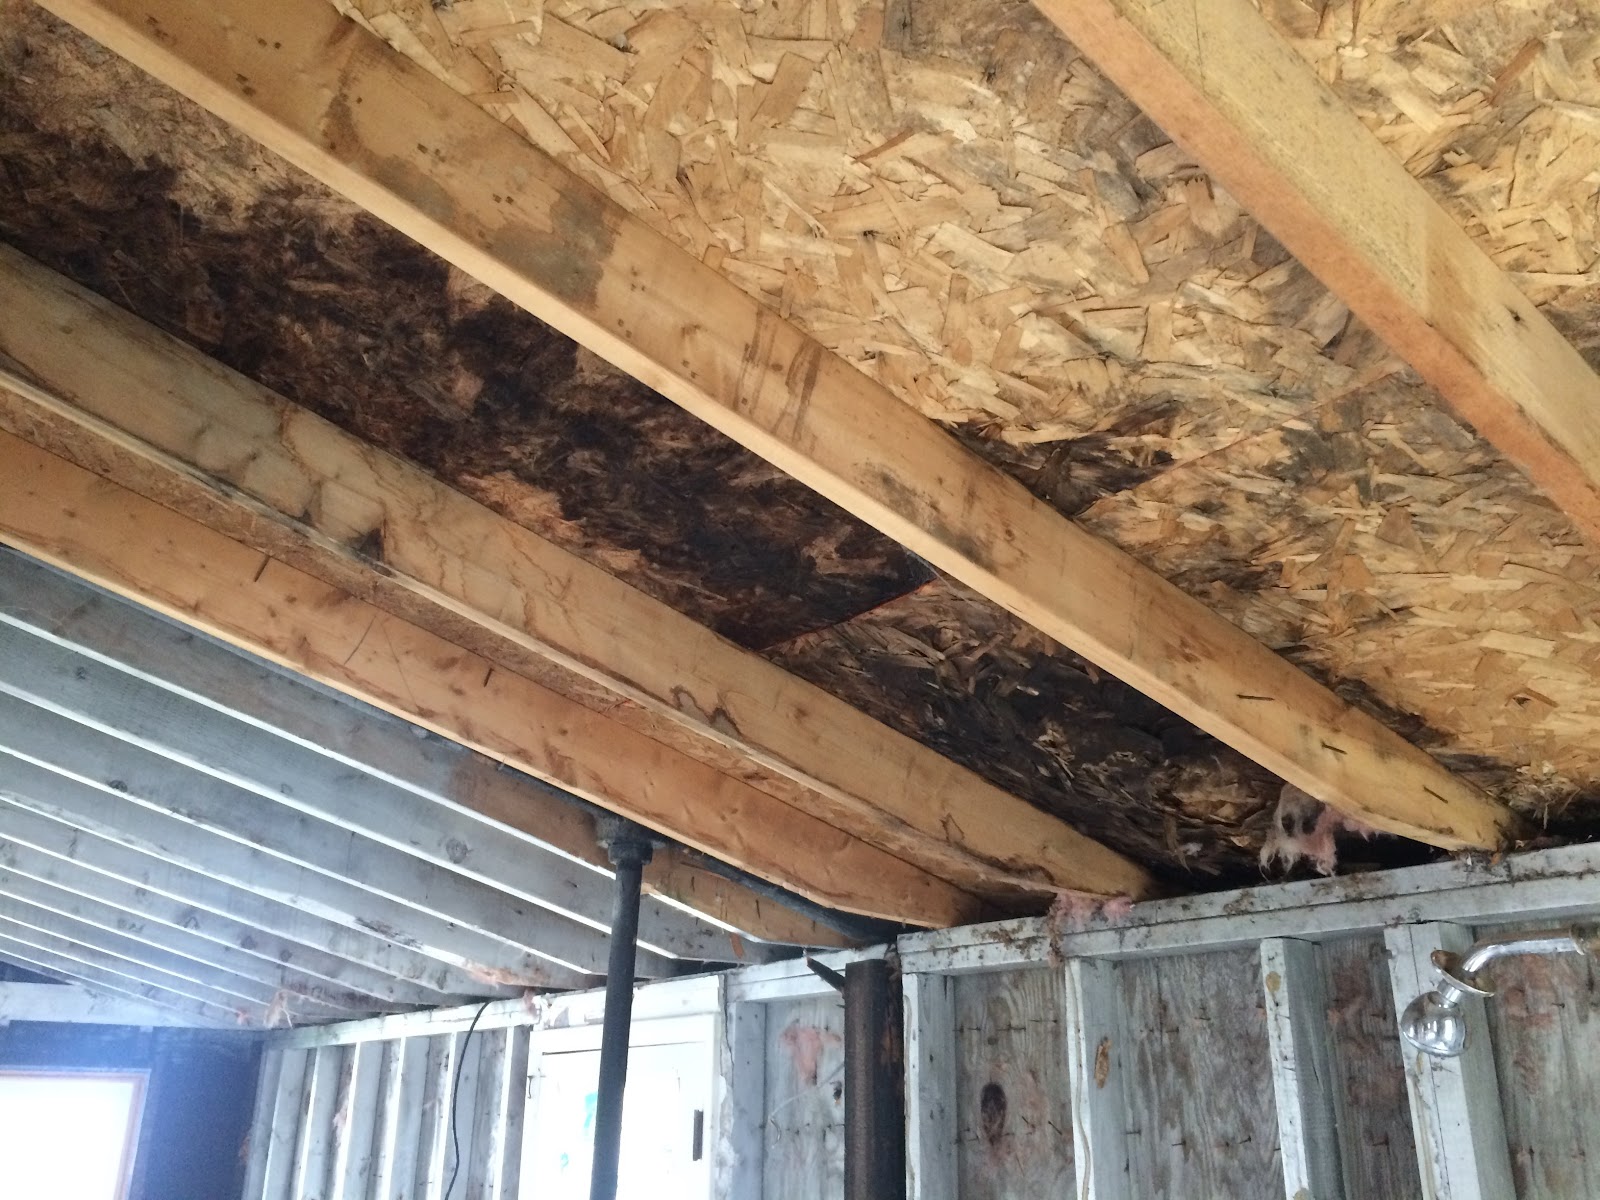
The roof over the bathroom is rotted and collapsing. The roof is done for. Scott can get donated shingles, so it’s not that expensive to replace.
He also gets 48 sheets of free foam board. Mooooaaaaahahahaha! (That’s my evil laugh.) When I told my partner about this fact, he replied why don’t you put foam board on the roof?
I had been planning to propose installing 3.5” closed cell spray foam against the roof deck of the main living area to get the jewel box look (or the Harry Potter tent look.) The rear lean-to area is best suited for spray foam, there are only a few inches between the roof deck and the ceiling, not enough space to get a decent level of insulation from other insulation types. I had budgeted $3000 for those. All of a sudden I could use a similar amount of money to spray foam the whole roof with 1-1.5” foam, and maybe even the walls too. That’s enough to get a really good air seal on my quest for a Passive House level of air tightness. Mooooaaahahaha! Yay foam board!
Spray Foam As Mold Remediation
I cringe a little as I write this, because a number of people are likely to freak out about it. Bear with me for a minute as I do some first principles thinking. First principles looks to go to the very root of the problem rather than looking at symptoms.
What causes mold to grow? If you have mold spores, you need three things to make it grow:
- 1. The right temperature (about 40-100 Fahrenheit),
- 2. A moisture source (relative humidity in the 60%+ range)
- 3. A food source (wood is good!)
The only item we might get good control over is the moisture levels. Since we’re working on the house right after winter, it’s about as dry as it’s going to get without a heat source. Now we need to keep it dry.
With a standard attic insulation method, we would need to remediate the mold that covers most of the underside of the roof deck. That’s about a $3-7K job if we had it done at retail rates. We just shattered the budget.
What if we simply foamed over it?
The foam will largely prevent water vapor from ever getting to the mold again. This is because the house will have tightly controlled moisture levels. Typically dry air will be slowly pushed out of the house, drying building materials out. Because the spray foam will completely cover the spores, they won’t be able to spread and water vapor will be kept away from them.
While there is a low level of risk in this case, using spray foam for mold remediation seems very likely to work. We MUST control humidity inside the home very tightly to prevent future issues. (A glimpse into the future, the house no longer smells musty.)
Conclusion
At this point, my partner and I have our heads wrapped around the problem and a good path to the solution. We think we can help the clients (both Habitat and the future homeowner) get their elephants and riders on a defined downhill path. Hopefully they agree!
We also think we have solutions to the moisture and foundation issues. Spray foam will help us tighten this home and solve the mold and moisture issues. The house will be comfortable and healthy for the new owner. The insulation is cutting edge, at no place will it have more than 3.5” of insulation or about R-20. We think we can get this done within the budget. It’s time to get bids. The problem solving part of the planning process is complete, that’s a look inside of our heads.
Next up, we need to pick the HVAC (heating, ventilation, and air conditioning) system. That requires an energy model and a lot of geekery. We’re going to rock the boat once again with the HVAC system. Tune in next time to learn more about that!
Further Reading
Habitat DER Series Part 1: Principles, Priorities, and Budget
Habitat DER Series Part 2: The Energy Audit
Habitat Picture Album: Here is my Google photo album of the project. Feel free to share with attribution. I am constantly adding to it.
Crawlspace Encapsulation Series: Allison Bailes of Energy Vanguard – The whys and hows. We’ll use all spray foam instead of foam board, but it’s the same idea.
Vapor Barrier? Vapor retarder? Perms? What the heck?: Energy Vanguard – A brief but more detailed description.
Popular Post

Highlighted Posts